
On this page
- What You Need to Know Before Attempting Zarokh
- Trial Access: Floors, Barya and Honour
- Preparation: Relics, Honour Resistance and Build Checks
- Zarokh Phase Breakdown
- Attack Reference
- Build Considerations
- Video Guide
- Community Perspectives
- Problems and Direct Answers
- Rewards and Progression
- Related Guides
- Sources and Verification
Quick Preparation
- Location
- Trial of the Sekhemas, Floor 4
- Recommended Level
- Level 30+
- Primary Damage Types
- Physical · Lightning
- Editorial Difficulty
- High
QUICK ANSWER
What You Need to Know Before Attempting Zarokh
Zarokh sits at the end of a four-floor trial with an Honour system that can end your run before you ever see the boss.
Preparation for the trial floors matters more than raw DPS for the boss fight itself.
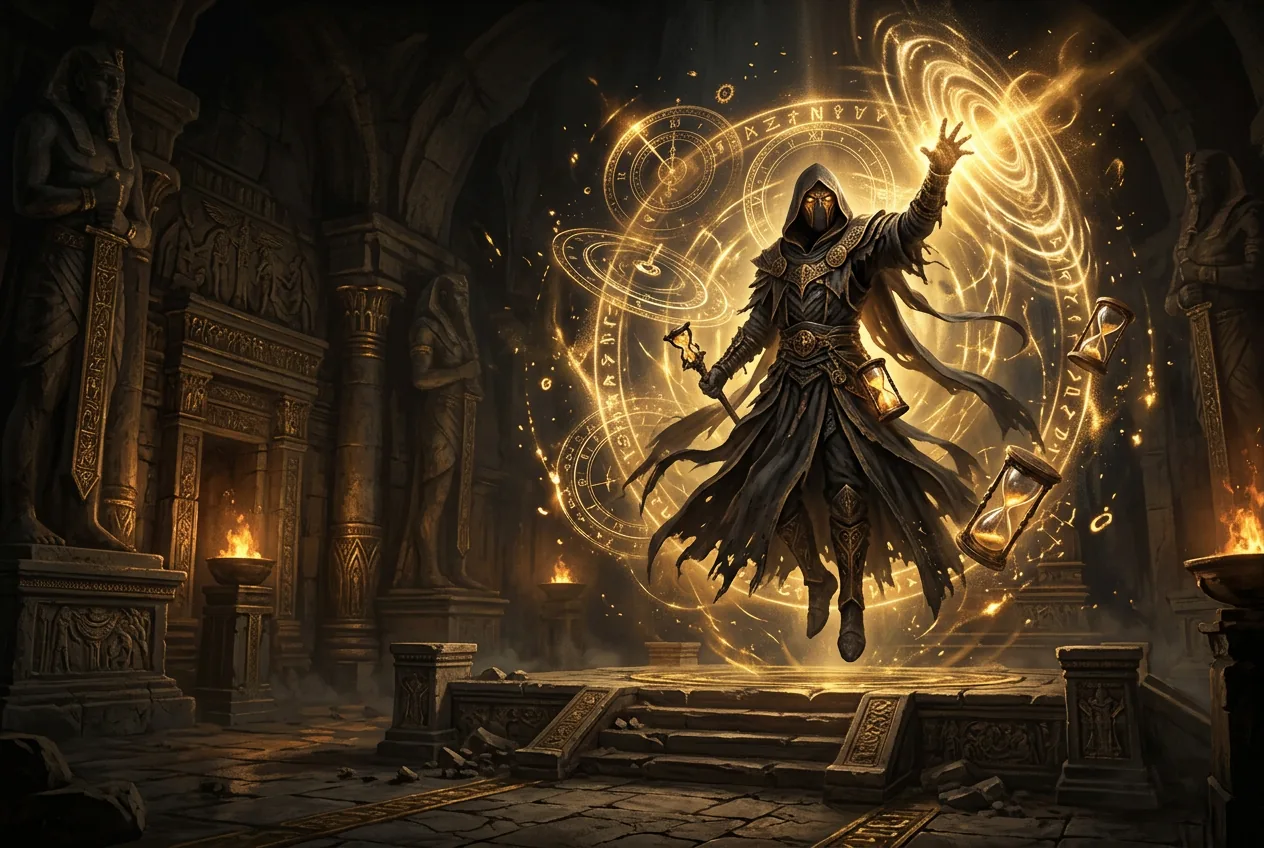
Zarokh triggers a Clock phase: 6 hourglasses spawn around the arena and must be collected within one rotation.
Since 0.3.0, missing an hourglass no longer instantly fails the Trial—it deals Honour damage and triggers a slowed sub-phase instead.
You need a Barya to enter. The trial has four floors with escalating difficulty and Honour loss on hits taken.
Honour is your trial HP. Losing all Honour ends the run. Prioritise Honour resistance and avoidance over damage.
Zarokh has a time-stop phase where you must keep moving. Do not stand still during the temporal field.
ACCESS & CONTEXT
Trial Access: Floors, Barya and Honour
Barya drops from endgame maps. You need one per attempt.
Each floor has rooms with enemies, traps and choices. Floor 4 ends at Zarokh.
Taking hits loses Honour. Zero Honour ends the run immediately. Honour does not regenerate between floors.
You must start from floor 1 with a new Barya. No checkpoints within a run.
Obtain a Barya
Barya items drop from endgame maps. You need at least one to enter the Trial of the Sekhemas.
Clear floors 1–3
Each floor has rooms with combat encounters, traps and reward choices. Prioritise Honour preservation over greed. Avoid unnecessary fights when possible.
Reach floor 4 and enter the boss room
Floor 4 leads directly to Zarokh. Enter with as much Honour as possible. There is no recovery between floor 4 rooms and the boss.
BEFORE THE FIGHT
Preparation: Relics, Honour Resistance and Build Checks
| Done | Check | Why it matters | Quick fix |
|---|---|---|---|
| Honour resistance Relics Reduce Honour loss per hit taken during the trial floors. | Honour loss accumulates across four floors. Even small reductions compound significantly over a full run. | Prioritise Relics with Honour resistance for your first attempts. Damage Relics become relevant once you can consistently reach the boss. | |
| Movement and avoidance The trial floors have traps and ambushes that cost Honour. | Most Honour loss happens on the floors, not the boss. Avoidance is more valuable than tanking. | Use a movement skill to reposition quickly. Do not face-tank trap rooms. | |
| Single-target damage for the boss Zarokh has a substantial HP pool. Longer fights mean more time-stop phases. | Each time-stop phase is a survival check. Shorter fights mean fewer checks. | Bring a dedicated single-target setup. Verify support gem compatibility. | |
| Lightning and physical defence Zarokh deals both physical and lightning damage. | The time-stop phase has lightning attacks that are hard to avoid while repositioning. | Cap lightning resistance if possible. Bring a physical damage reduction option. |
PHASE BREAKDOWN
Zarokh Phase Breakdown
Phase 1 · Phase 1: Standard Combat
Trigger: Fight begins at full HP.
Objectives- Learn the melee combo and ranged projectile patterns.
- Stay mobile — do not commit to long attack animations.
- Save defensive cooldowns for the time-stop phase.
Phase one is a standard boss fight with physical melee combos and occasional ranged projectiles.
The key is resource conservation. Do not use all your defensive tools here — you will need them in phase two.
ATTACK REFERENCE
Attack Reference
| Attack | Telegraph | Response | Common mistakes | Danger |
|---|---|---|---|---|
| Temporal SlashPhase 1: Standard Combat | Weapon glows and a short wind-up precedes a wide arc. | Step back or dodge through the arc. The recovery is short. | Standing in melee range without watching the wind-up. | Med |
| Temporal ProjectilePhase 1: Standard Combat · Phase 2: Temporal Field (Time Stop) | Zarokh raises his staff and a glowing orb forms. | Move laterally. The projectile tracks briefly but can be outrun. | Running straight away — the tracking catches you. Go sideways. | Med |
| Temporal Field (Time Stop)Phase 2: Temporal Field (Time Stop) | The arena shifts colour and parts of the ground freeze. | Keep moving through unfrozen corridors. Do not stand still. | Panicking and running into a frozen zone, which roots you. | High |
| Temporal Lightning StrikePhase 2: Temporal Field (Time Stop) | Brief ground marker appears during the time-stop field. | Keep moving — do not stop to dodge. The corridor movement avoids most strikes. | Stopping to dodge-roll, which puts you in a frozen zone. | High |
| Clock HourglassesPhase 2: Clock phase (collect hourglasses) | Arena shifts color; 6 hourglasses appear around the edges. | Pick them up one by one within the rotation; if you miss one, keep moving for the rest—don't freeze in place. | Chasing one hourglass into the time-stop zone. | Med |
BUILD-SPECIFIC STRATEGY
Build Considerations
The trial floors are the real DPS check, not the boss. Bring enough clear speed to handle floor enemies quickly without taking unnecessary Honour damage.
For the boss itself, single-target damage reduces the number of time-stop phases you must survive. Every additional phase is another survival check.
Movement speed and movement skills are doubly valuable: they help on the trial floors (avoiding traps) and during the time-stop phase (navigating corridors).
Minion builds should ensure minions can follow through the time-stop corridors. Some minion AI may path poorly through frozen zones.
- First attempts should prioritise Honour preservation Relics over damage Relics.
- Once you can consistently reach the boss, swap to damage-focused Relics to shorten the fight.
VIDEO & TIMESTAMPS
Video Guide
z3r0pointflux
Trial of the Sekhemas Complete Guide — All Four Floors and Zarokh
Full four-floor run showing Honour management, room choices and the Zarokh fight.
Open source ↗COMMUNITY EVIDENCE
Community Perspectives
Why is the trial harder than the actual boss?
Players frequently report dying on the floors before reaching Zarokh. The Honour system makes the approach more punishing than the fight itself.
This is by design — the trial is meant to test consistency, not just boss knowledge. The guide should validate this frustration while providing concrete Honour-preservation strategies.
The floors are the primary challenge. Prioritise Honour resistance Relics, avoid unnecessary fights, and learn trap patterns. The boss becomes manageable once you arrive with high Honour.
What do I actually do during the time-stop phase?
Players describe confusion about where to move during the temporal field. The visual change makes it hard to identify safe corridors.
The time-stop phase needs a clear movement instruction rather than vague advice. Players need to know: keep moving, follow unfrozen ground, do not stop to dodge.
Keep moving through unfrozen corridors. Do not stop to dodge-roll — continuous movement through safe ground is the survival mechanic. Lightning strikes are secondary; the frozen zones are the primary threat.
PROBLEMS & DIRECT ANSWERS
Problems and Direct Answers
I keep losing all Honour before reaching the boss.
Direct answer: Most Honour loss comes from unnecessary fights and trap rooms on floors 1–3. You do not need to clear every room.
- Skip optional combat rooms when possible.
- Use movement skills to traverse trap rooms without taking hits.
- Equip Honour resistance Relics for your first several attempts.
The time-stop phase kills me every time.
Direct answer: You are likely stopping to dodge or running into frozen zones. The correct response is continuous movement through unfrozen corridors.
- Do not dodge-roll during the time-stop — keep walking/running.
- Follow the unfrozen ground path.
- Accept that you will take some lightning hits — movement avoids the lethal frozen zones.
Which Relics should I prioritise?
Direct answer: For first attempts: Honour resistance. Once you consistently reach the boss: damage. The trial is designed so that survival Relics enable reaching the boss, and damage Relics shorten the fight.
- Start with Honour resistance Relics until you can reach floor 4 consistently.
- Swap to damage Relics once the floors are manageable.
- Do not mix both unless you have a large Relic inventory.
REWARDS & PROGRESSION
Rewards and Progression
Ascendancy Point
Completing the Trial of the Sekhemas grants an ascendancy point. This is one of the primary sources of ascendancy points in the game.
Trial Reward Room
The reward room after Zarokh contains equipment and currency. Quality depends on floor choices made during the run.
SOURCES & VERIFICATION
Sources and Verification
Update Log
- Added the Clock phase (6 hourglasses, collect within one rotation).
- Corrected outdated info: since 0.3.0 a missed hourglass no longer instantly fails the Trial—it deals Honour damage and a slowed sub-phase.
Related content
Information is compiled from public web sources and in-game observations; some visuals are original editorial diagrams. External information and images remain the property of their authors or platforms; contact us for removal requests.