
On this page
Quick Summary
- Best For
- Mapping · Shapeshift · Armour
- Main Damage Type
- Physical · Cold · Fire
- Playstyle
- Melee · Shapeshift · Bear · Rage
- Gear Dependency
- Low
Build Overview
This build has three separate layers that the old guide blurred together: (1) the transformation, Bear Form, which is the form and not a damage skill; (2) the real attack skills that actually deal damage — Rampage, Maul and Furious Slam; and (3) the later variant routes you choose between once the core works.
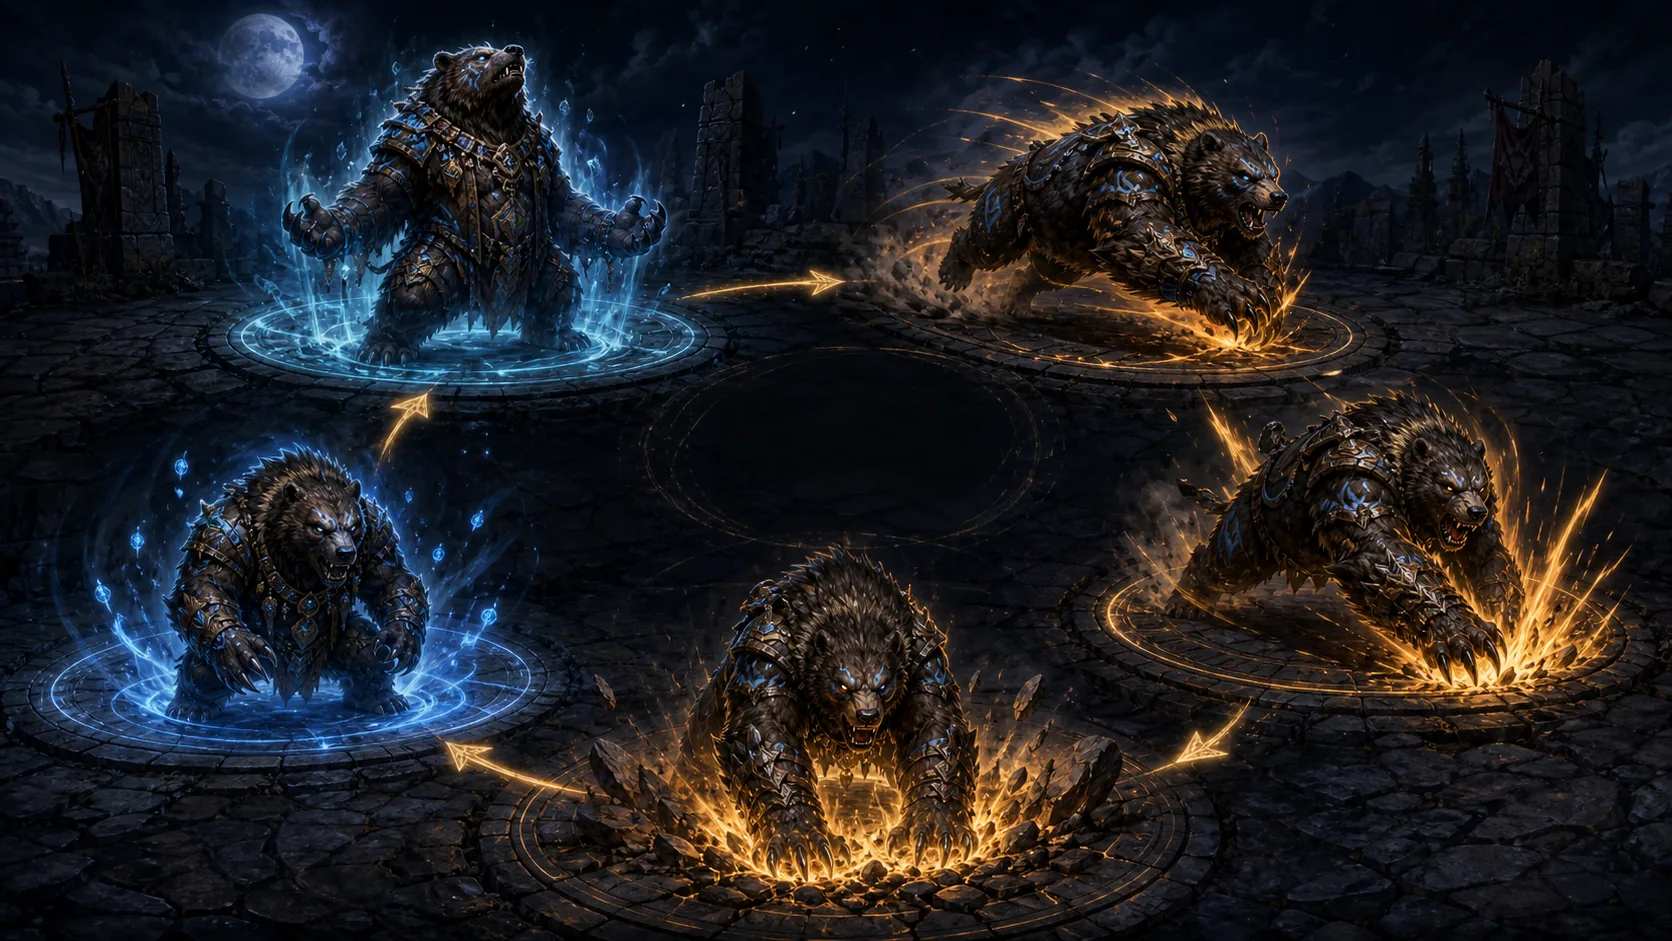
The repeatable resource loop is: enter Bear Form, recover Rage, spend it through Rampage across packs, and use Maul or Furious Slam when the chain drops. If that loop is not stable, buying more damage will not make mapping feel consistent.
Rampage Bear is the default mapping route. Walking Calamity (a Glory-spending AoE finisher) and Meteor Bear (a meteor/lightning transfiguration bound to Maul) are separate branches with their own entry conditions — they are not unconditionally mixed into one single route. Pick ONE after the core loop works.
- Bear Form is the form, not the damage source.
- Rampage + Maul + Furious Slam are the real attack skills.
- Rampage Bear / Walking Calamity / Meteor Bear are separate variant branches, each with its own entry condition.
Pros and Cons
Pros
- Clear build identity and staged progression.
- The primary Rampage loop has current 0.5 guide coverage.
- The guide separates mapping and boss assumptions and the three variant routes.
Cons
- Several mechanics still need current-client reproduction.
- Endgame creator setups can hide expensive dependencies.
- Exact support and passive choices may change by variant branch.
Bear Transformation (the form, not a damage skill)
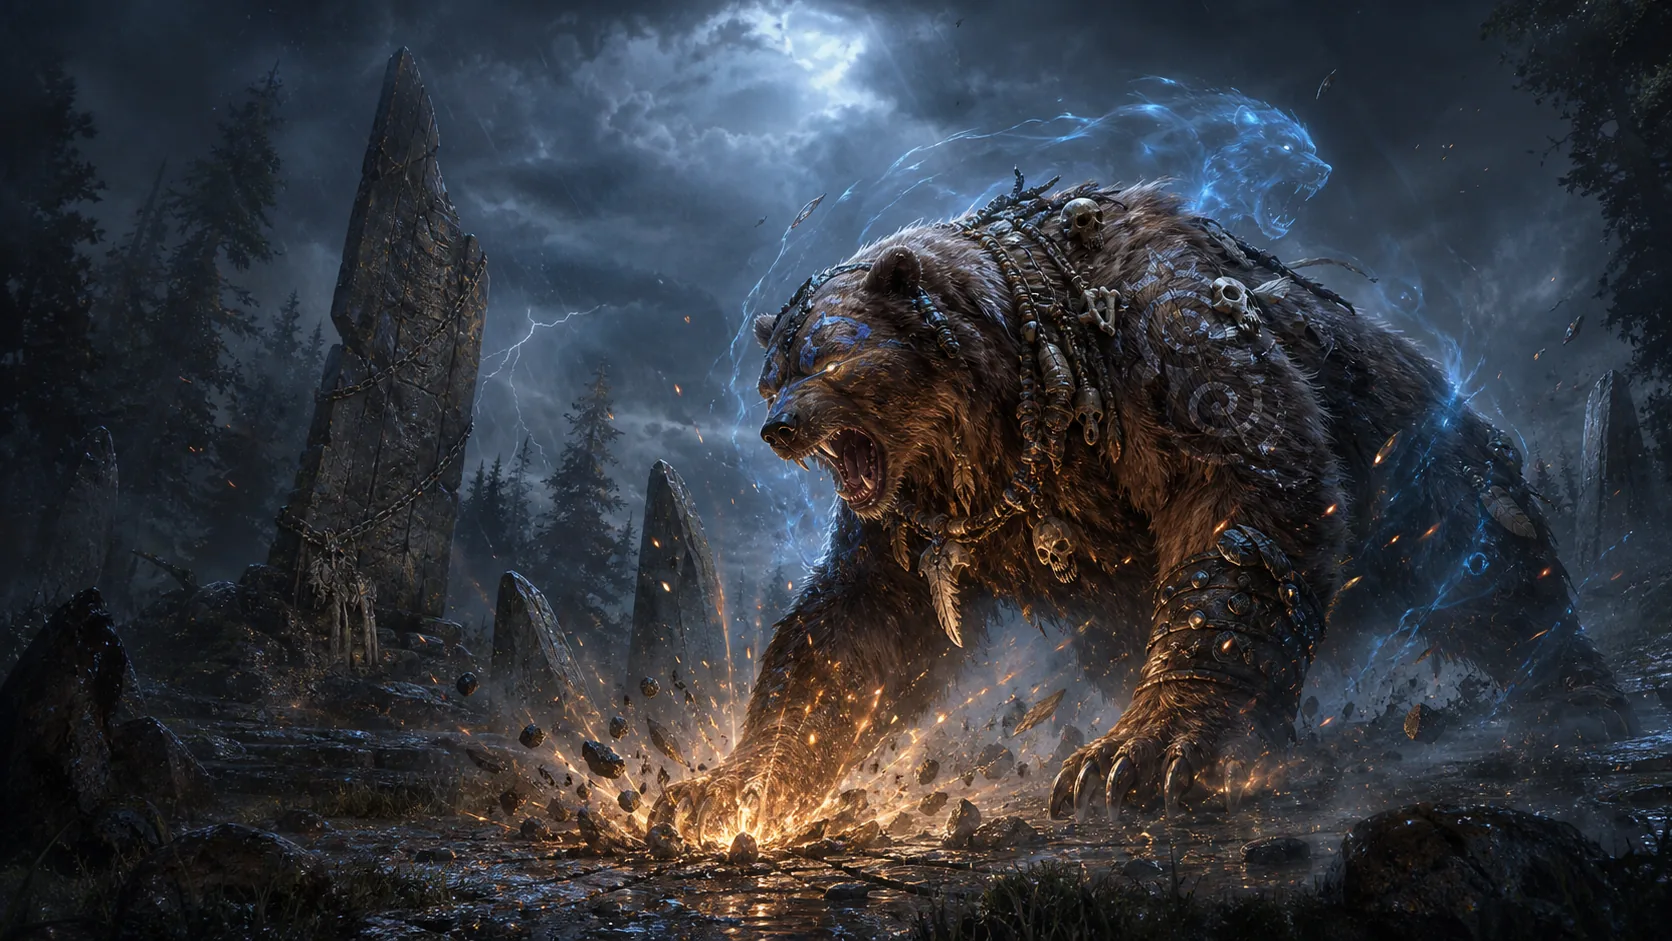
Bear Form is the shapeshift that converts you into the bear. It grants the armour, life and resistance bonuses that define the build's survivability. It is the precondition for every bear attack skill below — you cannot use Rampage, Maul or Furious Slam outside bear form.
- Enter Bear Form before any attack skill is available to use.
- The form is the survivability source; the attack skills are the damage source.
- Treat form restrictions and unlock level as pending PC verification (claim C1).
Read the Rage loop before copying the gear
Leveling
Campaign start (human form) · 1–30
Use a verified temporary human-form setup and prioritise a functional weapon or spell focus, life and resistances. Do not force bear skills before Bear Form unlocks.
Bear Form unlock · 31+
Swap to Bear Form once the gem and form requirements are met, then layer Rampage + Maul. Prioritise resistances and life; the tankiness is the point, not raw damage yet. Exact unlock level pending PC (claim C1).
Core loop stabilisation · 31–49
Fix the Rage recovery loop: Ferocious Roar before packs, Rampage across connected groups, rebuild with Maul or Furious Slam when the chain drops. Record Rage/Glory generation for PC verification (claim C3).
Early maps — pick the default route · 50+
Adopt the Rampage Bear default route. Do not mix endgame variant planner snapshots yet; Walking Calamity and Meteor Bear are later branches with their own entry conditions.
Variant split · 70+
Only after the core Rampage loop is stable, choose ONE variant branch: Walking Calamity (needs Glory generation) or Meteor Bear (needs meteor/lightning transfiguration gear). Each has its own entry condition — see the Skills and Staged Configuration sections.
Staged Configuration
| Stage | Main Skill | Key Support | Passive Focus | Gear Goal | Transition Condition | |
|---|---|---|---|---|---|---|
| Leveling (human → bear) | Human-form spells, then Maul after Bear Form | Bear Form + Ferocious Roar | Life, armour, resistances, melee | Any weapon with enough damage; cap resists | Reach Bear Form unlock (~level 31, pending PC) | |
| Early Maps — Rampage Bear (default) | Rampage + Maul | Ferocious Roar, Walking Calamity finisher | Rage recovery, attack speed | Stable Rage loop; life/armour solved | Rage recovery stable before variant split | |
| Variant split — choose ONE route | Rampage Bear / Walking Calamity / Meteor Bear | Route-specific supports | Route node allocation | Variant gear (Talisman mods) | Pick ONE variant; do not mix planner snapshots | |
| Endgame bossing | Furious Slam + variant payoff | Maul stacking / Meteor / Calamity | Defensive + route wheels | Route best-in-slot (pending PC) | Reliable single-target before luxury spend |
Skills
Transformation (Form)
Why: Without the form you cannot use Rampage, Maul or Furious Slam; it is the entry to every bear route.
When to replace: Never replaced; it is the entry to every bear route.
Mapping vs Bossing: Same in both: you stay in bear form for mapping and bossing.
Confirm Bear Form gem unlock level and form restrictions in the 0.5.4 client (claim C1, pending PC).
Core attack skills (the real damage dealers)
Supports: martial-tempo · elemental-damage-with-attacks
Why: It is the main clear damage and the movement tool; the mapping rhythm depends on it.
When to replace: Core to every bear route; in Walking Calamity / Meteor routes it still clears but the payoff skill changes.
Mapping vs Bossing: Mapping: spam through packs. Bossing: avoid using it to chase moving bosses (whiff + exposure).
Exact supports and gem levels pending PC verification.
Supports: martial-tempo · heavy-hit
Why: It is the stacking single-target damage basis used by all routes.
When to replace: Kept in all routes; only its transfiguration changes in Meteor Bear.
Mapping vs Bossing: Mapping: quick hits while charging. Bossing: the stacking tool before Furious Slam / variant payoff.
Meteor transfiguration access pending PC (claim C4).
Supports: martial-tempo
Why: Stable single-target payoff independent of the Rampage chain.
When to replace: Kept; it is the universal boss tool across all routes.
Mapping vs Bossing: Mapping: rarely needed. Bossing: the release inside a safe window.
Setup & utility
Why: Reported to generate resource and buff; apply before packs and bosses.
When to replace: Kept in all routes.
Mapping vs Bossing: Both: apply once before the fight.
Exact resource generation pending PC (claim C3).
Why: Catches separated enemies or repositions without breaking the loop.
When to replace: Optional utility; not a damage competitor.
Mapping vs Bossing: Both: positional tool only.
Variant — Rampage Bear (default route, entry: stable Rage recovery)
Why: Fastest clear and lowest input of the three branches.
When to replace: This is a route choice, not a mid-fight swap.
Mapping vs Bossing: Mapping: the main skill. Bossing: not for chasing moving bosses.
Entry condition: stable Rage recovery confirmed; otherwise rebuild with Maul / Furious Slam (claim C3).
Variant — Walking Calamity (entry: Glory generation + gem tier)
Why: Big AoE clear finisher; reported as the route's payoff on packs.
When to replace: Route choice; not a core single-target competitor in other routes.
Mapping vs Bossing: Mapping: finisher on packs. Bossing: limited single-target contribution.
Access and the Bhatair's Vengeance interaction changed after 0.5 — verify in client (claim C4). Entry condition: Glory generation solved.
Variant — Meteor Bear (entry: meteor/lightning transfiguration gear)
Supports: meteor · lightning
Why: Higher single-hit burst than the sustained route.
When to replace: Route choice; otherwise Maul stays plain.
Mapping vs Bossing: Mapping: still clears. Bossing: bigger slam hits.
Transfiguration availability and exact supports pending PC (claim C4). Entry condition: meteor/lightning transfiguration gear/support.
Ascendancy
Shaman — form and defence first
Take the Shaman nodes that strengthen the bear form's survivability and buff coverage before damage. Follow the selected current guide, then confirm every node in the 0.5.4 client before publication.
Variant-aware allocation
After the core works, allocate toward the chosen variant branch (Rampage sustain, Glory/Walking Calamity, or meteor/lightning transfiguration). Do not pre-path to a variant you cannot yet afford.
Passive Tree
Campaign
Take only nodes that support the current leveling skill and defensive requirements: life, armour, resistances, melee damage and early Rage nodes.
Early maps
Move to the selected build variant; do not combine incompatible planner snapshots (Rampage, Walking Calamity and Meteor trees diverge).
Gear
Weapon (Talisman / melee)
Required
- Skill level or base weapon damage for the tier — The primary progression check for every bear route.
Recommended
- Variant modifier (physical, or meteor/lightning) — Matches the chosen branch's damage source.
Optional
- Attack speed — Improves clear feel but is not the damage floor.
Luxury
- Route-specific unique (e.g. Fury of the King) — Only after the core loop and defences are solved; verify prerequisites.
- Appropriate skill levels or weapon damage for the tier.
- Variant-compatible modifiers (physical for Rampage Bear; meteor/lightning for Meteor Bear).
Do not copy an endgame unique without its prerequisites; Talisman/weapon-set behaviour pending PC (claim C2).
Defensive armour (Body / Helm / Boots)
Required
- Life and the two uncapped resistances — No amount of damage compensates for dying in maps.
Recommended
- Armour (bear form scales it) — Core defensive layer that pairs with the form.
Optional
- Movement speed on boots — Helps reposition the engage line.
Luxury
- Explicit DPS affixes — Only after defenses are solved.
- Life or the selected defence pool.
- Elemental resistances and recovery; movement speed on boots.
Compare the whole defensive package, not one slot.
Jewellery and utility
Required
- Attributes to equip the weapon and gems — A weapon you cannot equip is worthless.
Recommended
- Resistances and life — Completes the defensive shell.
Optional
- Rage / Glory sustain jewels — Stabilises the core loop.
Luxury
- Route-exclusive affixes — Conditional on the chosen variant.
- Attributes and resource sustain (Rage / Glory).
- Only verified build-specific modifiers.
Prices are not fixed at this time; Mobalytics Verified ≠ this site's client verification.
Stat Priority
- Defensive baseline — Cap resistances and establish recovery first.
- Primary damage scalar — Use the scalar shared by both planner and gameplay evidence.
- Resource sustain (Rage / Glory) — The main loop must also work against a single target.
- Accuracy / hit chance — Whiffing on bosses is a common failure; fix before damage.
- Quality of life — Add speed or area only after the build is functional.
Upgrade Priority
Rampage chain ends between packs
Symptom: The Rampage chain collapses in the middle of a map instead of flowing.
Check first:
- Is Rage recovery stable (Ferocious Roar coverage, jewels)?
- Are you forcing Rampage across disconnected packs or empty corridors?
Upgrade next: Rebuild Rage with Maul or Furious Slam; do not spend the buff in empty corridors. Verify recovery in client (claim C3).
Rares and bosses survive too long
Symptom: Single-target takes far longer than clear; community 'lowish damage' report.
Check first:
- Is accuracy / hit chance fixed?
- Are Maul / Furious Slam gem levels and supports up?
- Are you expecting Walking Calamity to solo bosses (it is AoE finisher only)?
Upgrade next: Invest hit chance + slam multiplier; consider the Meteor Bear transfiguration branch. Do not expect Walking Calamity to carry single-target.
Dying in maps
Symptom: Frequent deaths in T15+ or boss arenas.
Check first:
- Which resistances are uncapped?
- Is life/armour below the content tier?
- Is Ferocious Roar up before engaging?
Upgrade next: Cap resistances and stabilise life/armour; do not buy damage gear to fix a defense problem.
Resource loop stalls on bosses
Symptom: Rage / Glory empties during a single-target fight.
Check first:
- Is Ferocious Roar coverage active on bosses?
- Are kill-based assumptions removed?
- Record resources before and after the sequence.
Upgrade next: Fix resource generation (roar coverage, sustain jewels); verify in client (claim C3).
Considering a variant branch
Symptom: Want Walking Calamity or Meteor Bear instead of Rampage Bear.
Check first:
- Is the core Rampage loop already stable?
- Is the gear enabling Glory generation or meteor/lightning transfiguration available?
Upgrade next: Adopt ONE variant after the core works; do not mix incompatible planner snapshots.
Mapping
Enter a pack with enough Rage to start the chain. Ferocious Roar first, then Rampage through connected monster groups, Maul on the way, and Walking Calamity (if on that branch) as the AoE finisher. Empty corridors are a resource problem: stop forcing Rampage and rebuild with Maul or Furious Slam.
Build Rage with Maul or the verified generator; never spend the temporary buff in an empty corridor.
- Ferocious Roar → Rampage → Maul → (Walking Calamity finisher on its branch).
- Rampage is both movement and damage; crossing packs is the point.
- Rebuild Rage before the next chain instead of forcing it.
Bossing
Against a boss, separate setup time from damage time. Rebuild Rage before the arena becomes dangerous, apply the temporary buffs once, then attack only through a safe animation window with Maul and Furious Slam. Do not use Rampage to chase moving bosses — it whiffs and exposes you.
Spend Glory on Walking Calamity (its branch) or use the Meteor transfiguration (its branch) for the burst window; these are separate routes, not a single mixed rotation.
- Maul to stack → Furious Slam / variant payoff in the window.
- Do not Rampage after a moving boss.
- Walking Calamity / Meteor are branch payoffs, not universal boss tools.
Choose the Bear route before buying gear
| Route | Damage source | Strength | Entry condition | Reference | |
|---|---|---|---|---|---|
| Rampage Bear (default) | Rampage + Maul continuous | Fast clear, low input | Stable Rage recovery | Ronarray guide | |
| Walking Calamity | Glory-spending AoE finisher | Big pack burst | Glory generation + gem tier solved | Community report | |
| Meteor Bear | Meteor/lightning transfigured Maul | Higher single-hit burst | Meteor/lightning transfiguration gear | CaptainLance9 guide |
Troubleshooting
The core skill is unavailable
- Check gem level, form, weapon set and equipment requirements.
- Return to the documented transition stage.
Single-target loop stops
- Remove kill-based assumptions.
- Record every resource before and after the sequence.
Copied endgame gear feels worse
- Check missing passives, supports and thresholds.
- Rebuild from the lower verified stage.
Fix the build before spending more
Why does Rampage stop in the middle of a map?
Rampage is the payoff, not the resource generator. If you start it with weak Rage recovery or across disconnected packs, the chain naturally collapses.
- Rebuild Rage with Maul or Furious Slam.
- Do not spend the temporary buff in an empty corridor.
- Check resource regeneration and leech before adding another damage unique.
I survive everything but rares take too long. What should I inspect?
Confirm melee gem levels, attack speed, flat physical/cold contribution, accuracy and the slot carrying the build-defining effect. A defensive amulet plus a weak offensive slot can make the character safe but inert.
- Test one rare before and after each change.
- Keep the same map tier so the comparison means something.
Should I swap to Meteor Bear or Walking Calamity?
Swap only if you prefer that route's rhythm AND meet its entry condition (meteor/lightning transfiguration gear, or solved Glory generation). It is not an automatic upgrade to a broken Rampage loop; each is a different branch with different failure modes.
Build Planner & Import
Pasteable import string / .build pending PC verification. Use the creator guide and the native planner below in the meantime. Always re-confirm node choices in your own client.
What players actually report
These are attributed editorial paraphrases, not independent proof of DPS or survivability.
reddit · Editorial paraphrase
A Shaman player described the setup as extremely durable but initially short on damage, and reported a noticeable rare-killing improvement after changing the weak weapon or talisman slot to Fury of the King.
Useful as a troubleshooting clue: first inspect the damage-carrying slot and Rage loop instead of replacing the whole defensive shell.
Rampage Bear player report ↗guide · Editorial paraphrase
The maintained guide presents Rampage as the clear engine, calls out Rage management and animation commitment as the real weaknesses, and uses Maul or Furious Slam to recover when Rampage is unavailable.
This supports the rotation model, but item-specific numbers still need in-client reproduction.
Ronarray Rampage Bear guide ↗See the loop in motion
Ronarray
0.5 Bear leveling and gameplay
Use the footage to study when Bear Form begins, how the player crosses pack gaps and when Rage is rebuilt.
What to watch for: Pause before and after each Rampage chain; compare the resource state, not only the clear speed.
Open source ↗Sources and verification
Grinding Gear Games — Path of Exile 2 0.5.4 Patch Notes
Ronarray Rampage Bear guide
CaptainLance9 Meteor Bear guide
Independent Meteor Bear guide
Bear route comparison discussion
External tool
Ronarray 0.5 Bear leveling gameplay
Player report on Rampage Bear survivability and rare damage
Changelog
- Created the sourced 0.5.4 build guide; PC verification is pending.
- Extended schema: added display-name skill cards split into Form / Core attack / Setup / three variant branches (Rampage Bear, Walking Calamity, Meteor Bear) each with entry conditions; Staged Configuration table; Build Planner entry; per-slot gear stat priorities; symptom-based Upgrade Priority. Removed the vague single-route mix.
Related content
Information is compiled from public web sources, and some visuals are original editorial diagrams. External information and images remain the property of their authors or platforms; contact us for removal requests.