

On this page
Quick Summary
- Best For
- Mapping · Freeze Control · Spell Progression
- Main Damage Type
- Cold
- Playstyle
- Caster · Cold · Freeze · Spell · Control
- Gear Dependency
- Low
Build Overview
The important progression is mechanical, not cosmetic. The campaign can begin with Essence Drain, Contagion and Bonestorm, then move into the cold package only when enough support gems exist for Ice Nova, Frost Bomb and Frost Darts. Switching because the final planner looks attractive, but before the supports and cast rhythm exist, is the usual way to create a weak Act 2 character.
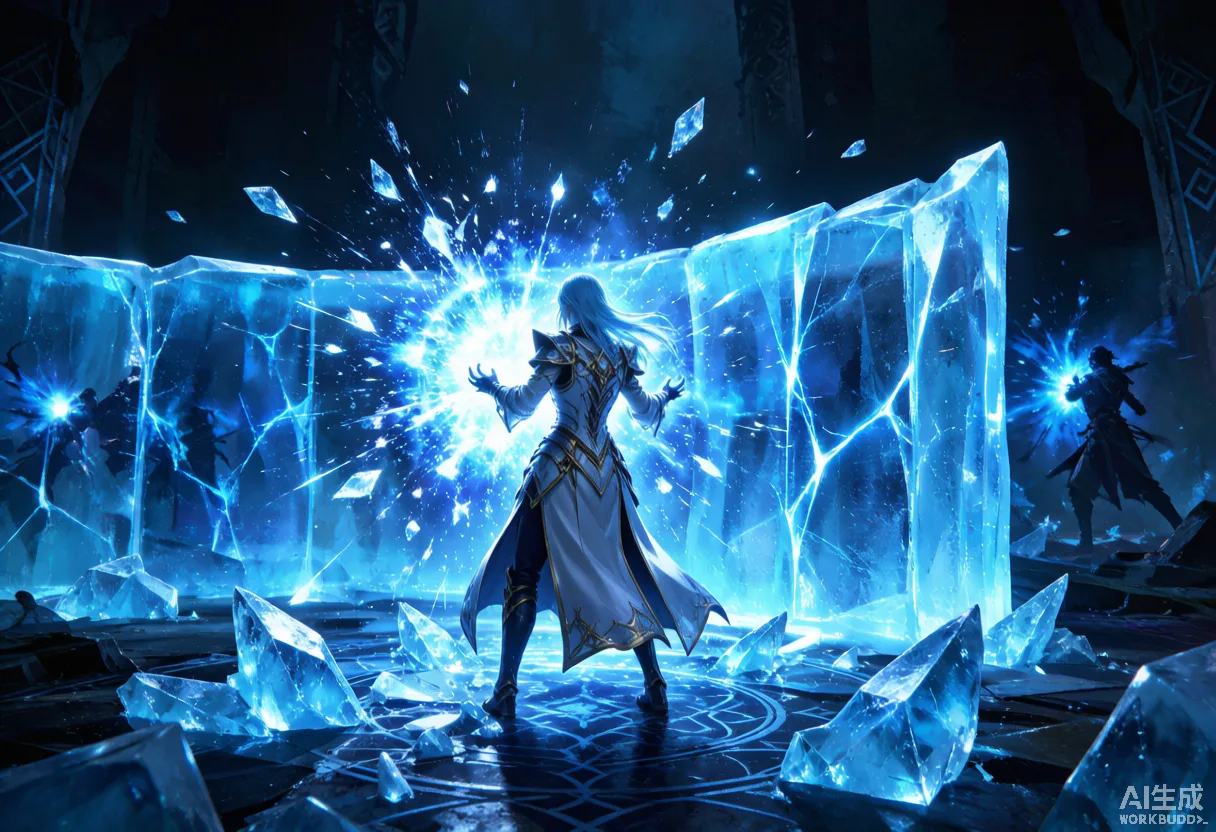
In maps, Ice Nova is the close-range clear tool, Frost Wall and Frost Bomb create burst opportunities, and Frost Darts carries single-target downtime. Chronomancer utility does not remove the need to position the wall correctly or to verify whether a boss arena lets the wall behave as expected.
Ice Nova handles mapping after the Act 2 transition, while Frost Wall, Frost Bomb and Frost Darts form a separate single-target package. Bitter Dead is NOT a required core for every stage: it is a conditional endgame supplement that only becomes relevant once you are in early maps/endgame and your route reliably provides corpses. Treat leveling and early maps without it.
- Generate or maintain Cold Infusion (per the maintained guide), then use Ice Nova for mapping.
- For bosses, apply the selected curse or mark before the Frost Bomb and Frost Wall setup.
- Use Frost Darts for single-target. Adopt Bitter Dead only as a conditional endgame option when corpses and mana allow.
Pros and Cons
Pros
- Clear build identity and staged progression.
- The primary loop has current 0.5 guide coverage.
- The guide separates mapping and boss assumptions.
Cons
- Several mechanics still need current-client reproduction.
- Endgame creator setups can hide expensive dependencies.
- Exact support and passive choices may change by variant.
Mapping Rotation
Generate or maintain Cold Infusion (per the maintained guide), then use Ice Nova for mapping. Frost Bomb generates the infusion and applies cold exposure; Frost Wall is reserved for places where its geometry helps rather than blocks your own movement.
- Generate or maintain Cold Infusion, then use Ice Nova for mapping.
- For bosses, apply the selected curse or mark before Frost Bomb and Frost Wall setup.
- Bitter Dead is skipped in mapping unless your route specifically uses corpses.
Boss Freeze Rotation
Apply the curse or mark package, place Frost Wall only where the arena supports it, add Frost Bomb, then use Frost Darts while waiting for the next freeze or cooldown window. If Frost Wall behaves strangely on a specific boss, remove that dependency instead of repeating a broken rotation.
- Apply curse or mark, then Frost Bomb and Frost Wall setup.
- Use Frost Darts to fill single-target downtime.
- Bitter Dead is an optional, conditional endgame supplement only when corpses are reliably available.
Separate clear, setup and burst
Leveling
Campaign start (Acts 1, levels 1–20) · 1–20
Begin with a verified temporary setup (Essence Drain, Contagion, Bonestorm) and prioritize a functional spell focus, movement speed, resistances and basic survival. Do not attempt the cold package yet.
Core skill transition (Act 2, levels 21–40) · 21–40
Swap to the cold package only once Ice Nova, Frost Bomb and Frost Darts and their support gems are actually available. Exact unlock levels are pending PC verification; treat 'Act 2' as the real milestone, not a fixed level.
Campaign end (Act 3, ~level 41–50) · 41–50
Add Frost Wall for single-target burst. Bitter Dead is introduced around this stage in the maintained guide but remains optional; do not treat it as required while leveling.
Early maps (level 50+)
Adopt one documented variant instead of mixing endgame snapshots. Stabilize mana, resistances and life before any luxury pick. Bitter Dead is still optional at this point.
Staged Configuration
| Stage | Main Skill | Key Support | Passive Focus | Gear Goal | Transition Condition | |
|---|---|---|---|---|---|---|
| Level 1–20 | Chaos bridge: Essence Drain + Contagion, Bonestorm for bosses | Contagion spread, Bonestorm setup (supports pending PC) | Life, resistances, movement speed, survival | Any staff/wand with enough spell focus; cap resists | Reach Act 2 and the cold gems unlock | |
| Level 21–40 | Ice Nova clear + Frost Bomb + Frost Darts | Cold/area supports (exact links pending PC) | Cold damage, cast speed, early mana | Cold-focus staff, begin stacking cold | Frost Wall available (Act 3) | |
| Early Maps | Ice Nova clear + Frost Wall burst | Mana/infusion supports (pending PC) | Mana pool, defenses, resist caps | Mana + resist + life gear; no luxury yet | Stable mana and reliable freeze on rares | |
| Endgame | Full cold loop + Frost Darts boss burst (+ conditional Bitter Dead) | Variant-specific supports (pending PC) | Full tree, variant wheels (crit/ward/mana) | Variant uniques, luxury affixes | Boss freeze reliable before any luxury variant |
Skills
Core skills
Why: It is the clear engine and the spell the whole cold loop is built around.
When to replace: Never fully replaced in the cold build; it stays the mapping skill while Frost Darts/Frost Wall handle single-target.
Mapping vs Bossing: Mapping: the main clear tool. Bossing: used to build the freeze/cold window before the single-target package.
Exact support links and gem levels are pending PC verification.
Why: It carries single-target time between larger cold effects (Frost Bomb/Frost Wall bursts).
When to replace: Keep as the single-target filler; swap only if a verified stronger boss skill appears.
Mapping vs Bossing: Mapping: usually unused. Bossing: the reliable single-target tool.
Exact support links and gem levels are pending PC verification.
Why: Without it the ice-nova burst window does not form, so it gates the whole loop.
When to replace: Keep; it is a setup skill, not a damage competitor.
Mapping vs Bossing: Mapping: used to generate infusion before Ice Nova. Bossing: applied in the setup before Frost Wall and Frost Darts.
Cold Infusion generation and exposure values are pending PC verification (research claim C2).
Why: Creates the burst setup for bosses when the arena lets it behave as expected.
When to replace: Drop it on bosses/arenas where geometry or collision breaks the interaction; continue with Bomb + mark/curse + Frost Darts.
Mapping vs Bossing: Mapping: conditionally useful where geometry helps. Bossing: the burst setup step, arena-dependent.
Frost Wall interactions are pending PC verification (research claim C3).
Setup and auxiliary skills
Why: It improves the cold burst by lowering enemy cold resistance.
When to replace: Keep as a setup curse; swap only if the chosen variant uses a different mark/curse.
Mapping vs Bossing: Mapping: optional. Bossing: applied in the setup before Frost Bomb and Frost Wall.
Why: It supports reliable freeze on tanky targets and bosses.
When to replace: Keep as a setup skill; not a damage competitor.
Mapping vs Bossing: Mapping: maintain on rares/bosses. Bossing: apply early in the setup.
Conditional optional — Bitter Dead
Why: Adopt only once you are in early maps/endgame AND your route reliably provides corpses (from kills or Frost Wall) AND you have spare mana and gem sockets. Before that, it is skipped entirely.
When to replace: Skip during Acts 1–2 leveling and early maps. Drop it again if corpse supply or mana is inconsistent, or if it competes with the core cold links.
Mapping vs Bossing: Mapping: skip unless your route specifically uses corpses. Bossing: an optional corpse-fed clear supplement in endgame only.
Acquisition, corpse requirements and current value are pending PC verification (research claim C5). Do not treat it as a default pick.
Ascendancy
Provisional order
Follow the selected current guide, then confirm every node in the 0.5.4 client before publication.
Passive Tree
Campaign
Take only nodes that support the current leveling skill and defensive requirements.
Early maps
Move to the selected build variant; do not combine incompatible planner snapshots.
Gear
Primary damage slot
Required
- Cold or spell damage high enough for the tier; correct base type — The primary progression check for both clear and boss burst.
Recommended
- Skill level or added cold damage modifiers — Supports the main skill directly.
Optional
- Cast speed — Improves clear feel but is not the damage floor.
Luxury
- Crit multi / extra projectile (variant-only) — Only after the chosen variant is actually online.
- Appropriate skill levels or weapon damage
- Variant-compatible modifiers
Do not copy an endgame item without its prerequisites.
Defensive armour
Required
- Life and the two uncapped resistances — No amount of DPS compensates for dying in maps.
Recommended
- Defensive pool the variant uses (ES/evasion/ward) — Defensive layer that pairs with the ascendancy.
Optional
- Movement speed on boots — Helps reposition around Frost Wall and bosses.
Luxury
- Explicit DPS affixes — Only after defenses are solved.
- Life or the selected defence pool
- Elemental resistances and recovery
Compare the whole defensive package, not one slot.
Jewellery and utility
Required
- Attributes to equip the weapon and gems — A weapon you cannot equip is worthless.
Recommended
- Resistances and life/mana — Completes the defensive and resource shell.
Optional
- Mana sustain / resource modifiers — The loop must also work against a single target.
Luxury
- Variant-exclusive affixes (e.g., crit) — Conditional on the chosen variant.
- Attributes and resource sustain
- Only verified build-specific modifiers
Prices are not fixed at this time.
Stat Priority
- Defensive baseline — Cap resistances and establish recovery first.
- Primary damage scalar — Use the scalar shared by both planner and gameplay evidence.
- Resource sustain — The main loop must also work against a single target.
- Quality of life — Add speed or area only after the build is functional.
Upgrade Priority
The cold swap feels weaker than before
Symptom: After swapping to Ice Nova, clear and boss damage drop versus the earlier chaos bridge.
Check first:
- Are Ice Nova, Frost Bomb, Frost Darts, supports, mana and cast speed all present together?
- Are resistances and life already solved (so the swap is the real bottleneck)?
Upgrade next: Return to the chaos bridge or collect the missing supports; do not keep the cold gems without their full package.
Frequent empty mana in maps
Symptom: Mana empties during normal mapping or single-target fights.
Check first:
- Is the mana pool, regen and leech/recoup active?
- Is there cost reduction or mana on kill covering bosses too?
Upgrade next: Solve mana sustain before any damage gear; do not buy damage to fix a resource problem.
Bosses never freeze / no burst window
Symptom: The single-target burst never arrives on bosses.
Check first:
- Is the curse or mark applied first?
- Are Frost Bomb and Frost Wall actually active in the setup?
- Is the cold exposure / infusion present?
Upgrade next: Repair the single-target setup (mark/curse → Bomb → Wall → Darts), not the weapon.
Frost Wall makes fights worse
Symptom: Placing Frost Wall lowers boss damage or creates collision problems.
Check first:
- Does the boss arena geometry support the wall?
- Is the boss size/collision breaking the interaction?
Upgrade next: Drop the Frost Wall dependency; continue with Bomb, mark/curse and Frost Darts.
Considering crit or luxury gear
Symptom: Want more damage and eyeing crit/luxury pieces.
Check first:
- Is non-crit clear, boss freeze and defense already stable?
- Will crit gear break resist caps or drop life/defense?
Upgrade next: Adopt the variant only after the checklist passes; buy pieces, retest, do not trade survival for a planner-only number.
Mapping
Use cold-infused Ice Nova for ordinary packs, but do not stand still trying to turn every target into a full combo. Frost Bomb handles resistant or durable targets; Frost Wall is reserved for places where its geometry helps rather than blocks your own movement.
Generate or maintain Cold Infusion, then use Ice Nova for mapping. Bitter Dead is skipped in mapping unless your route specifically uses corpses.
- Generate or maintain Cold Infusion, then use Ice Nova for mapping.
- For bosses, apply the selected curse or mark before Frost Bomb and Frost Wall setup.
- Bitter Dead is a conditional endgame option, not a mapping default.
Bossing
Apply the curse or mark package, place Frost Wall only where the arena supports it, add Frost Bomb, then use Frost Darts while waiting for the next freeze or cooldown window. If Frost Wall behaves strangely on a specific boss, remove that dependency instead of repeating a broken rotation.
Bitter Dead is an optional, conditional endgame supplement only when corpses are reliably available; it is not part of the standard boss loop while leveling or in early maps.
- Apply curse or mark, then Frost Bomb and Frost Wall setup.
- Use Frost Darts to fill single-target downtime.
- Bitter Dead only if corpses and mana allow, in endgame.
Progression checkpoints
| Campaign bridge | Cold core online | Map refinement | |
|---|---|---|---|
| Main action | ED + Contagion, Bonestorm for bosses | Ice Nova clear, Frost Darts single target | Nova clear plus Wall/Bomb burst |
| Switch when | Default start | Supports and cold gems are ready | Cast speed, defenses and mana feel stable |
| Do not assume | The final cold tree already works | Frost Wall works in every arena | More crit fixes poor positioning |
| First repair | Keep the chaos bridge longer | Simplify to Nova + Darts | Tune mana and wall placement |
Troubleshooting
The core skill is unavailable
- Check gem level, form, weapon set and equipment requirements.
- Return to the documented transition stage.
Single-target loop stops
- Remove kill-based assumptions.
- Record every resource before and after the sequence.
Copied endgame gear feels worse
- Check missing passives, supports and thresholds.
- Rebuild from the lower verified stage.
Cold caster troubleshooting
Why did the build become weaker immediately after the cold swap?
The swap is a package, not one gem. If Ice Nova, Frost Bomb, Frost Darts, supports, mana and cast speed do not arrive together, the old ED/Contagion bridge may still be stronger.
- Return to the bridge setup.
- Collect the missing supports.
- Retest on the same campaign zone.
Why does Frost Wall make a boss fight worse?
Boss size, arena geometry and wall collision can change the result. Use Wall as a conditional burst tool; if the arena breaks the interaction, continue with Bomb, mark or curse and Frost Darts.
When should I adopt Bitter Dead?
Only as a conditional endgame option: once you are in early maps/endgame and your route reliably provides corpses (from kills or Frost Wall) and you have spare mana and gem sockets. It is skipped during leveling and early maps.
Should I invest in critical strike gear now?
Only after the non-crit loop clears and sustains mana. The creator thread still contains open questions about specific critical interactions, so expensive crit gear is not the first repair.
Build Planner & Import
PoE2 now has a native Build Planner. The pasteable import string and downloadable .build are pending PC verification; use the creator guide and planner tool below in the meantime. Always re-confirm node choices in your own client.
Creator notes and open questions
The creator discussion is valuable because it records unresolved behavior as well as successful gameplay.
reddit · Editorial paraphrase
The discussion flags Bitter Dead's displayed base critical behavior as possibly incorrect and asks whether Arcane Surge is being applied as expected, so those interactions should be tested rather than copied as settled facts.
The article therefore treats these as verification items and gives the build a non-crit functional baseline.
Ice Nova Chronomancer creator thread ↗guide · Editorial paraphrase
The maintained route explicitly starts with a chaos package, changes to cold after the required supports are available, and uses Frost Darts to fill single-target time between larger cold effects.
This is the basis for the staged switch rather than a level-only recommendation.
Ky Cold Caster progression guide ↗Watch positioning, not only damage
Ky
Ice Nova Chronomancer gameplay
A visual reference for Nova range, Frost Wall placement and the downtime filled by Frost Darts.
What to watch for: Track the order of debuffs and terrain tools before the damage window.
Open source ↗Sources and verification
Grinding Gear Games — Path of Exile 2 0.5.4 Patch Notes
Ky 0.5 Cold Caster guide and planner
Source-video summary for Ice Nova Chronomancer
Independent written overview
Creator discussion and community questions
External tool
Ky Ice Nova Chronomancer gameplay
Changelog
- Created the sourced 0.5.4 build guide; PC verification is pending.
- Enriched to the extended schema: added Staged Configuration table, Build Planner entry, per-slot gear stat priorities, symptom-based Upgrade Priority and display-name skill cards. Made Bitter Dead a conditional endgame option instead of a default core; separated leveling/early from endgame and stated its entry condition.
Related content
Information is compiled from public web sources, and some visuals are original editorial diagrams. External information and images remain the property of their authors or platforms; contact us for removal requests.