
On this page
- Remember These Three Things First
- Top search questions: entry, materials, failure cost
- How to Reach the Arbiter of Divinity
- Pre-Fight Preparation Checklist
- Combat Phases
- Attack Recognition and Response
- Build Considerations
- Video Guides
- Community Questions and Evidence
- Common Problems and Fixes
- Rewards and Drops
- Sources and Verification
Quick Preparation
- Location
- Trial of the Sekhemas, Chamber of Judgement
- Recommended Level
- Level 60+
- Primary Damage Types
- Lightning · Holy
- Editorial Difficulty
- Medium
QUICK ANSWER
Remember These Three Things First
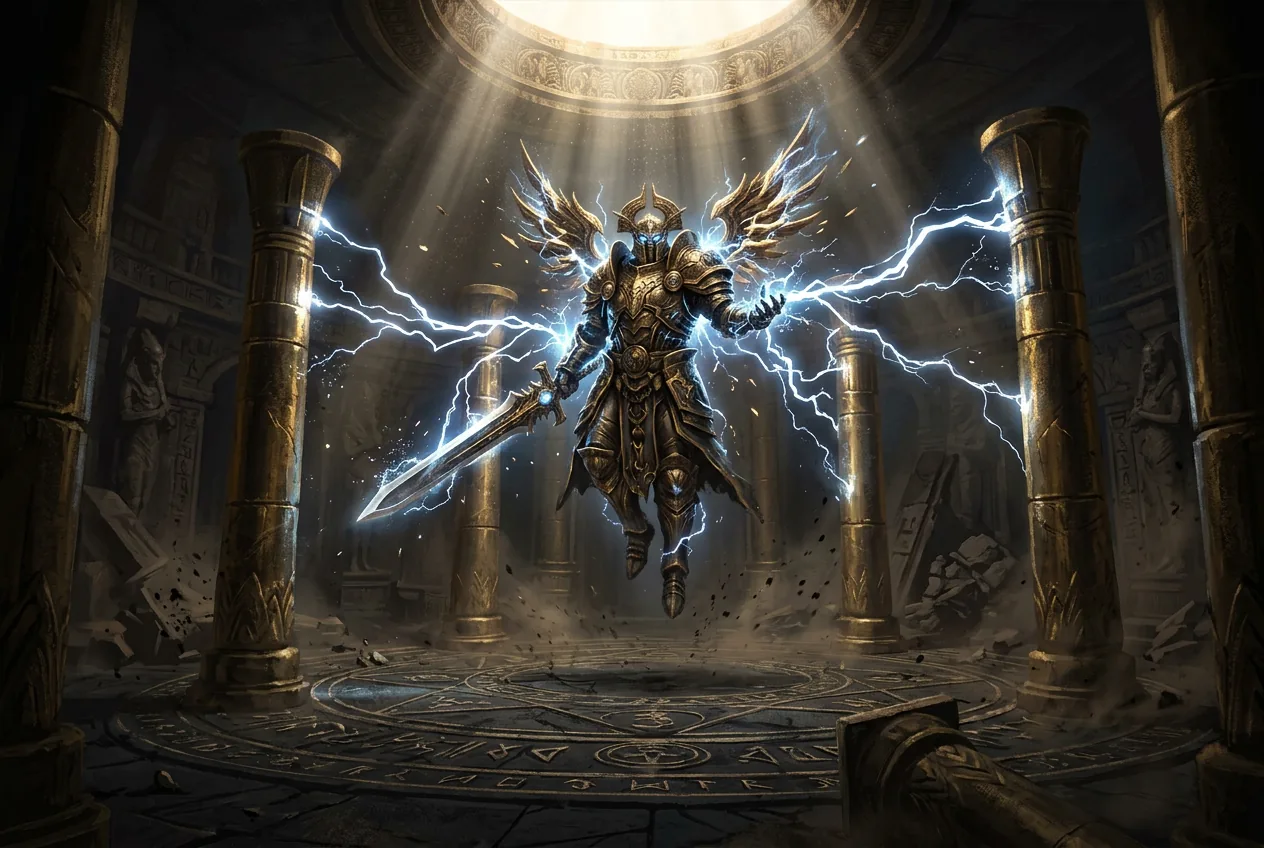
The Arbiter channels lightning between four arena pillars. Any player within 3 metres of an active pillar takes chain damage that escalates with each bounce.
The safe zone is the exact centre between any two adjacent pillars — roughly 5 metres from each.
Phase 2 lightning chain — four pillars fire simultaneously
Lightning resistance cap (75%) plus shock immunity
Sekhema's Judgement unique sceptre (Trial-exclusive)
FAQ
Top search questions: entry, materials, failure cost
How do I reach the Arbiter of Divinity?
Enter the Trial of the Sekhemas via the trial portal in the capital hub; your character must be level 60+.
The Hall of Judgment is the fourth and final hall.
What are the prerequisite trials?
You must clear the Hall of Weight, Hall of Passage, and Hall of Storms before facing the Arbiter in the Hall of Judgment.
Where does the trial key come from?
Trial keys drop from endgame maps or are traded; each attempt consumes one.
What does failure cost, and can I retry?
Failure costs the key and all trial progress; you restart from the first hall with a new key. There is no in-trial checkpoint.
What do I unlock by defeating him?
Drops Sekhemas' Judgement and other trial-exclusive uniques; completing the Hall of Judgment advances ascendancy/trial progress.
ACCESS & CONTEXT
How to Reach the Arbiter of Divinity
Requires Level 60+
Pillars are the key mechanic
Keys from map drops or trade
Enter the Trial of the Sekhemas
The Trial is accessed from the Kingsmarch hub via the Trial portal. It is available once you reach Level 60 and complete the preceding trial floors.
Clear three preceding chambers
The Chamber of Judgement is the fourth and final chamber. You must clear Chambers of Weight, Passage and Storm first.
Enter the Chamber of Judgement
The boss arena is a square room with four golden pillars at the corners. The Arbiter awaits at the centre.
BEFORE THE FIGHT
Pre-Fight Preparation Checklist
| Done | Check | Why it matters | Quick fix |
|---|---|---|---|
| Lightning resistance 75% Verify lightning resistance is capped. | All attacks deal lightning damage; chain lightning amplifies with each bounce. | Use Topaz Flask, lightning-crafted suffixes, or Purity of Lightning. | |
| Shock immunity Ensure shock immunity via flask or passive. | Shock increases damage taken by up to 50%; combined with chain lightning this is lethal. | Sapphire Flask with shock immunity or Grounding passive notable. | |
| Moderate DPS (300k+) Verify single-target DPS exceeds 300k. | The fight has a soft enrage at 90 seconds where pillar frequency doubles. | Any competent endgame build should meet this threshold. | |
| Positioning awareness Learn the pillar safe zones before engaging. | The entire fight revolves around pillar positioning; DPS is irrelevant if you stand in chain paths. | Watch the video guide or practise in a lower-tier trial first. |
PHASE BREAKDOWN
Combat Phases
Phase 1 · Phase 1 — Single Chain
Trigger: Fight begins when you approach the centre.
Objectives- Burn the Arbiter from 100% to 50% HP.
- Learn the single-pillar chain timing (every 4 seconds).
The Arbiter channels lightning from one pillar at a time, rotating clockwise. Each chain fires every 4 seconds and bounces 3 times.
Between chains, the Arbiter casts a holy bolt at the nearest player. Dodge laterally.
Safe zone: stand opposite the active pillar (diagonal corner).
ATTACK REFERENCE
Attack Recognition and Response
| Attack | Telegraph | Response | Common mistakes | Danger |
|---|---|---|---|---|
| Pillar Lightning ChainPhase 1 — Single Chain · Phase 2 — Quad Chain | The active pillar glows bright gold for 0.5 seconds before firing. | Stay at least 5 metres from the active pillar. In Phase 2, move clockwise to stay between firing sequences. | Standing next to a pillar thinking it is safe because it is not currently active. | High |
| Holy BoltPhase 1 — Single Chain | The Arbiter points at the nearest player; a golden orb forms in 0.6 seconds. | Strafe laterally. The bolt is a single-target projectile that does not chain. | Dodging directly into the next pillar's chain zone. | Low |
| Sentinel SlamPhase 2 — Quad Chain | Sentinel raises weapon overhead for 0.8 seconds; a 3m circle appears. | Step out of the 3m radius. The slam is slow and easily avoided. | Focusing Sentinels while standing in a chain path. | Med |
BUILD-SPECIFIC STRATEGY
Build Considerations
The Arbiter of Divinity is primarily a positioning fight. Any build with capped lightning resistance and adequate DPS can succeed.
Movement speed is helpful but not as critical as for ground-effect bosses. The key is understanding chain timing and safe zones.
Ranged builds have an advantage because they can maintain distance from pillars while still dealing damage.
- Ranged builds: stand at maximum range and rotate clockwise during Phase 2.
- Melee builds: attack during the 2-second window between chain bounces; disengage before the next pillar fires.
- Caster builds: use instant-cast skills while moving; avoid long channels that root you in place.
- Minion builds: send minions to the Arbiter while you focus entirely on positioning.
VIDEO & TIMESTAMPS
Video Guides
COMMUNITY EVIDENCE
Community Questions and Evidence
What is the exact safe distance from pillars?
Community testing confirms 5 metres as the minimum safe distance. At 4 metres, the chain can still reach you on the first bounce. At 5+ metres, you are completely safe from that pillar's chain.
We measured using the arena floor tiles (each tile is approximately 1 metre). Five tiles from a pillar centre is the confirmed safe threshold.
PROBLEMS & DIRECT ANSWERS
Common Problems and Fixes
I keep getting hit by chain lightning in Phase 2
Direct answer: The chain fires clockwise. Move clockwise at the same speed to stay in the gap between active pillars. Stop moving only when all four pillars are in their 0.5s cooldown.
- Confirm you are moving clockwise, not counter-clockwise.
- Verify you are not stopping to attack — keep moving and use instant skills.
REWARDS & PROGRESSION
Rewards and Drops
Sekhema's Judgement
Unique sceptre granting lightning damage, chain range and a chance to shock on hit. Trial-exclusive.
Divinity Ward
Unique shield with lightning resistance and a barrier skill triggered on block.
Trial Key (return)
One-time league reward returning one Trial key.
SOURCES & VERIFICATION
Sources and Verification
Article Changelog
- Added a first-half FAQ with high-value search questions (how to enter / material sources / failure cost / retry / unlocks).
- Fixed prototype video placeholder link.
Related content
Information is compiled from public web sources and in-game observations; some visuals are original editorial diagrams. External information and images remain the property of their authors or platforms; contact us for removal requests.