
On this page
- Remember These First
- Top search questions: entry, materials, failure cost
- How to Reach
- Wave Context
- Boss + Add Priority System
- Pre-Fight Preparation Checklist
- Combat Phases
- Attack Recognition and Response
- Arena Reading
- Build Considerations
- Community Questions and Evidence
- Common Problems and Fixes
- Rewards and Drops
- Video Guides
- Media Gallery
- Sources and Verification
Quick Preparation
- Location
- Simulacrum (Delirium)
- Recommended Level
- Level 80+
- Primary Damage Types
- Physical · Chaos
- Editorial Difficulty
- High
QUICK ANSWER
Remember These First
Kosis appears in Map Delirium and the Simulacrum. The Simulacrum version shares difficulty scaling with the wave you are on; the more Delirium, the harder he hits.
His Demon Beam is directional — move to the safe sector opposite the beam origin. He also has a shield/recovery phase that needs specific handling.
Map Delirium & Simulacrum (wave-scaled)
Directional — safe sector opposite origin
Kill Omniphobia/add first, then Kosis
Handle recovery phase; don't over-commit
FAQ
Top search questions: entry, materials, failure cost
Is the Map Delirium Kosis the same difficulty as the Simulacrum one?
Both are the same boss, but the Simulacrum version scales with the wave number and Delirium intensity, while Map Delirium depends on map modifiers. Expect the Simulacrum fight to be denser and harder per wave.
How do wave, Delirium intensity, and co-spawning enemies affect the fight?
Higher waves and intensity mean more adds, tighter space, and harder hits. Kosis frequently shares the arena with Omniphobia or trash; treat the wave as the environment, not a clean 1v1.
Does his shield / recovery need special handling?
Yes — during his recovery/shield window he is harder to damage or briefly invulnerable. Burn him before it, or reposition and clear adds, then resume. Do not dump your whole rotation into the shield.
Why do I get surrounded when I chase him?
Chasing Kosis pulls you into the wave monsters. Keep your position, let him come to you, and use the beam safe sector to create space.
When Kosis and Omniphobia appear together, who do I kill first?
Omniphobia first — its charges/slams are the bigger positional threat. Then Kosis. The beam safe sector still applies to Kosis.
ACCESS & CONTEXT
How to Reach
Not a fixed arena
Denser per wave
Boss+add overlap
Cap chaos res
Enter Delirium / Simulacrum
Run a Delirium map or start a Simulacrum. Kosis spawns as a wave boss, not a fixed arena.
Reach his wave
In the Simulacrum he appears at specific waves; in maps he appears during the Delirium encounter.
OVERVIEW
Wave Context
Kosis is a wave-environment boss. In the Simulacrum, each wave increases Delirium intensity; he shares the floor with trash and sometimes Omniphobia. The wave is the arena — you cannot kite him into a clean corner because the swarm fills it.
Read the Wave Context bar: know which wave you are on and whether Omniphobia or adds are present before committing damage. Tighten your positioning as intensity rises.
- Wave scales his HP/hits and add count.
- Space shrinks as Delirium intensity rises.
- He is rarely a clean 1v1 — plan for overlap.
OVERVIEW
Boss + Add Priority System
When Kosis overlaps with Omniphobia or trash, use a priority matrix: (1) Omniphobia's charges/slams are the biggest positional threat — kill or disable it first; (2) then Kosis during his vulnerable window; (3) trash only if it blocks your safe sector. Chasing Kosis into the swarm is the most common death.
If Kosis is alone, still respect his shield window and the beam safe sector; don't over-commit your burst.
- Omniphobia (if present) > Kosis vulnerable window > trash.
- Never chase Kosis into the swarm.
- Use the beam safe sector to create space, not to close distance.
BEFORE THE FIGHT
Pre-Fight Preparation Checklist
| Done | Check | Why it matters | Quick fix |
|---|---|---|---|
| Capped Chaos Resistance Verify chaos res at 75% cap. | Kosis deals Chaos; uncapped means rapid death in the swarm. | Chaos-crafted gear or a Chaos-charm. | |
| Area damage / clear Bring AoE or add-clear. | Wave monsters surround you if ignored. | AoE skills, prolif, or minions for add control. | |
| Mobility Movement skill ready. | You must create space with the beam safe sector. | Movement-speed boots or a blink/dash. | |
| Burst for shield windows Know his shield timing. | Over-committing into the shield wastes your rotation. | Hold burst for the vulnerable window. |
PHASE BREAKDOWN
Combat Phases
Phase 1 · Wave-Scaled Encounter
Trigger: Spawns during a Delirium / Simulacrum wave.
Objectives- Survive the wave adds.
- Punish Kosis outside his shield.
- Prioritise Omniphobia if paired.
No fixed phase split; difficulty is set by wave number and Delirium intensity. His shield/recovery window punctuates the fight.
The beam safe sector is your main space-maker.
ATTACK REFERENCE
Attack Recognition and Response
| Attack | Telegraph | Response | Common mistakes | Danger |
|---|---|---|---|---|
| Demon BeamWave-Scaled Encounter | Kosis channels a beam that fires in a direction. | Move to the safe sector opposite the beam origin; do not cross the line. | Standing in the beam line. | High |
| Shield / RecoveryWave-Scaled Encounter | He enters a shield or recovery stance. | Reposition and clear adds; resume burst after the window. | Wasting burst on shield. | Med |
| Jump / SlamWave-Scaled Encounter | He leaps and slams. | Dodge-roll out of the slam radius. | Standing in slam. | Med |
| ExplosionWave-Scaled Encounter | A delayed explosion telegraphs at a location. | Leave the marked area before it fires. | Lingering in the marker. | High |
ARENA READING
Arena Reading
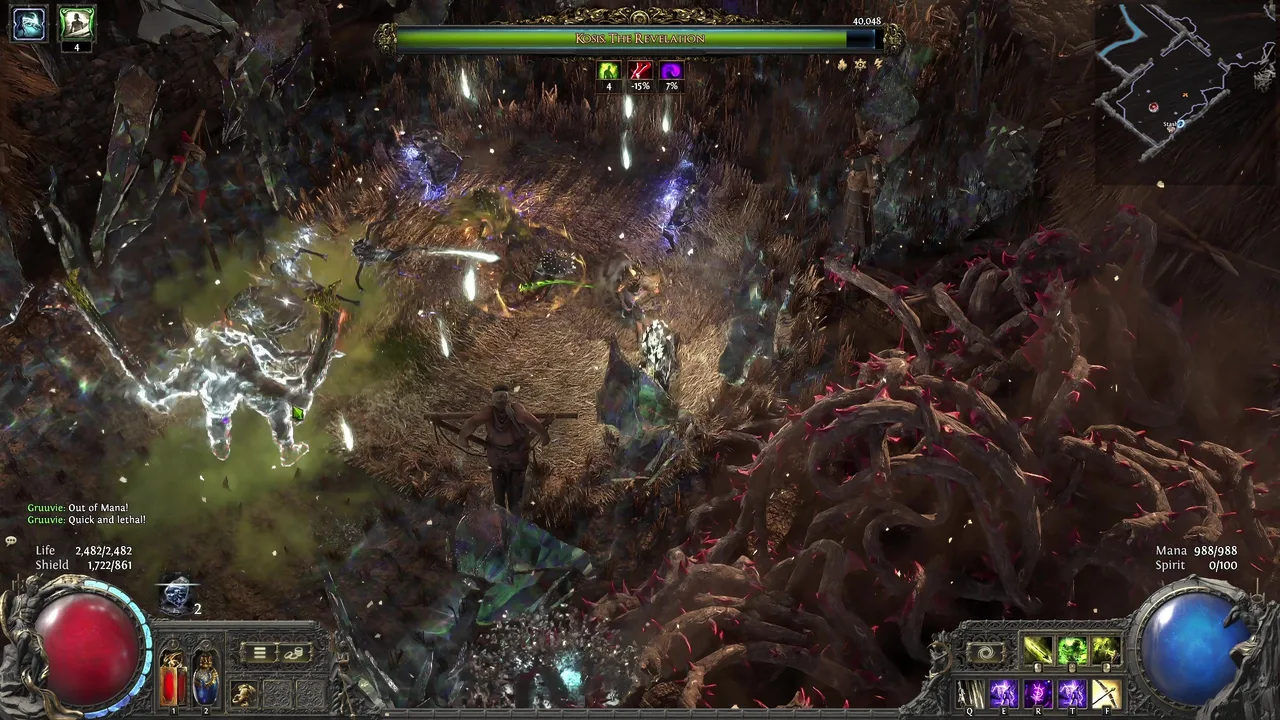
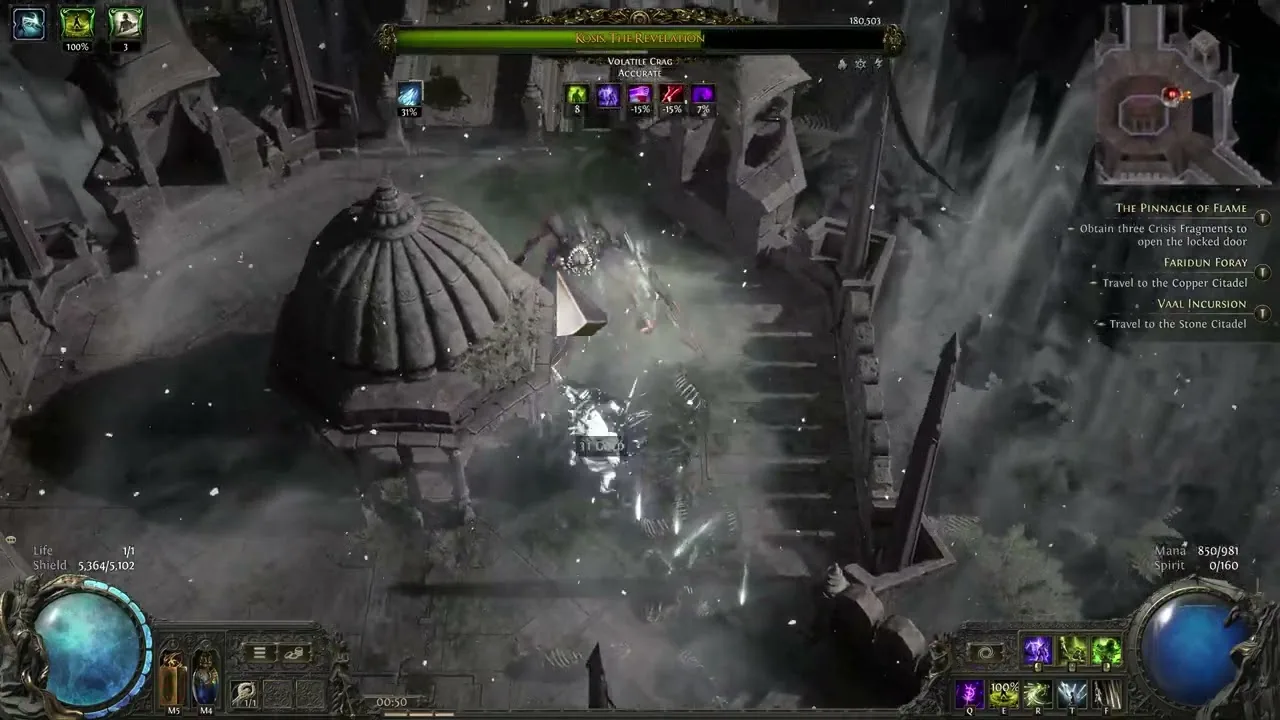
There is no dedicated arena — Kosis fights you inside the Delirium/Si mulacrum wave space, which is crowded with mist and adds. The mist limits visibility, so the beam telegraph and audio cues matter more than ever.
Keep near the edge of the cleared space; do not run to the centre where the swarm concentrates.
- Fight inside the wave, not a clean boss room.
- Use the beam safe sector to push adds away.
- Watch the mist — telegraphs are easy to miss.
BUILD-SPECIFIC STRATEGY
Build Considerations
Area damage and add control are essential because the wave never stops. Cap Chaos res. The beam safe sector rewards kiting builds; melee must time bursts around his shield. Minions help hold the swarm but can body-block your own dodges.
Delirium intensity rises — your damage must scale or you will time out the wave.
- Melee: burst during vulnerable window; respect shield.
- Ranged: kite using beam safe sector; AoE the swarm.
- Minion: great for add control; watch body-block.
- All: cap chaos res, scale damage with intensity.
COMMUNITY EVIDENCE
Community Questions and Evidence
Why do I get surrounded chasing Kosis?
Players report chasing him into the wave swarm. Community fix: hold position, use beam safe sector for space.
We confirm: the wave is the arena; chasing pulls you into adds. Hold ground, let him come.
Don't chase. Hold position; use the beam safe sector to make space.
Why is his health bar / UI weird?
Forum posts note Simulacrum boss bars can misrender; don't read mechanics from the UI glitch.
Our note: UI glitches are presentation only; trust the in-game telegraphs, not the bar.
UI bar glitches are cosmetic — rely on telegraphs, not the bar.
PROBLEMS & DIRECT ANSWERS
Common Problems and Fixes
I get surrounded and die in the swarm
Direct answer: Hold your position; use the beam safe sector to create space; clear adds with AoE instead of chasing.
- Are you chasing Kosis?
- Are you clearing adds?
My burst does nothing during his shield
Direct answer: Reposition and clear adds during the shield; save burst for the vulnerable window after.
- Is he in shield/recovery?
- Did you pre-hold burst?
The boss bar looks wrong / UI glitch
Direct answer: UI glitches are cosmetic; trust the in-game telegraphs, not the bar readout.
- Is it a Simulacrum bar glitch?
REWARDS & PROGRESSION
Rewards and Drops
Simulacrum / Delirium loot
Contributes to Simulacrum reward pool and Delirium splinter progress.
Delirium Progression
Counts toward Atlas Delirium progression and related unlocks.
VIDEO & TIMESTAMPS
Video Guides
Roberto
Verified boss-fight footage
What to watch for: Verified creator recording of the boss fight.
Open source ↗Spiral Games
Alternate creator footage
What to watch for: Verified creator recording of the boss fight.
Open source ↗MEDIA GALLERY
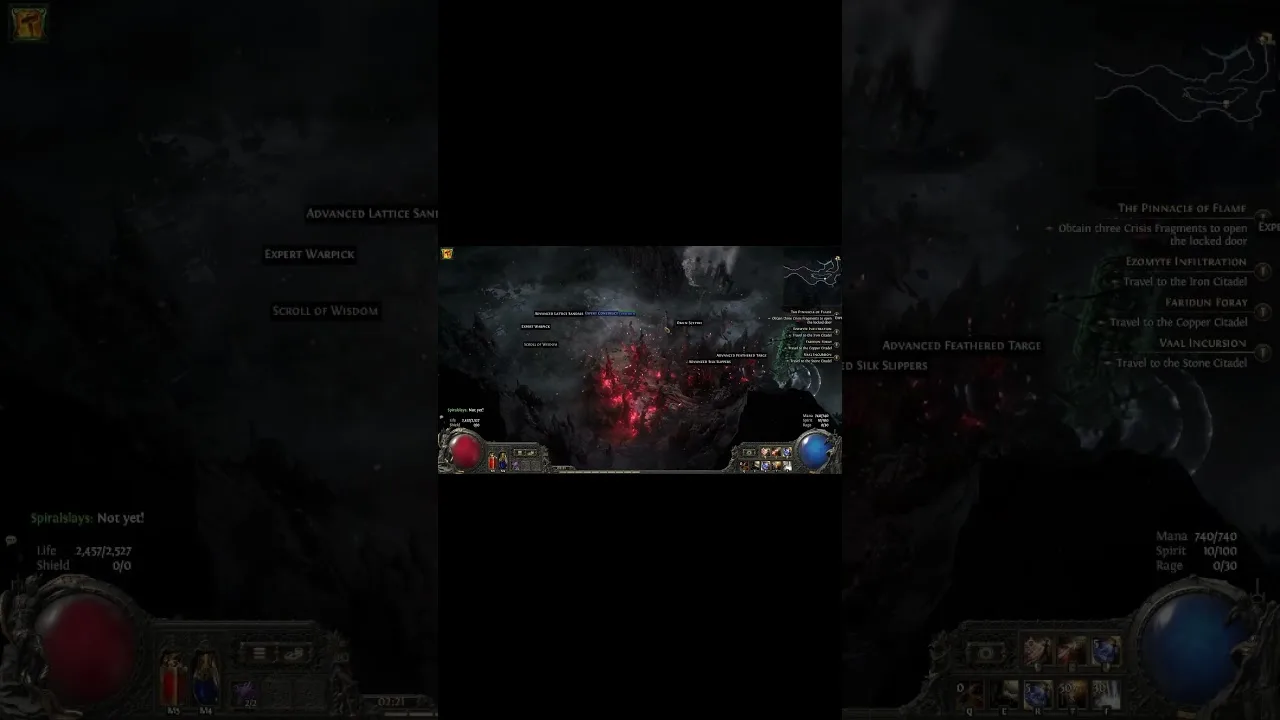
Media Gallery
SOURCES & VERIFICATION
Sources and Verification
Official Patch Notes — https://www.pathofexile.com/forum/view-thread/3975218
PoE2 Wiki — https://poe2wiki.net/wiki/Kosis,_the_Revelation
Mobalytics Guide — https://mobalytics.gg/poe-2/guides
Maxroll Guide — https://maxroll.gg/poe2
Article Changelog
- Initial version generated from 0.5.4 patch notes and community guides, including phases, attack table, community evidence and rewards.
- Videos embed verified creator boss-fight recordings (watch?v= format).
- Promoted to published after PC content verification.
- Media art and video IDs replaced with verified official/creator sources.
Related content
Information is compiled from public web sources and in-game observations; some visuals are original editorial diagrams. External information and images remain the property of their authors or platforms; contact us for removal requests.