
On this page
- Remember These First
- Top search questions: entry, damage, recovery
- How to Reach
- Encounter Overview
- Arena Constriction Timeline
- Combat Phases
- Attack Recognition and Response
- Spear Barrage Guide
- Flask Recovery Window
- Pre-Fight Preparation Checklist
- Build Considerations
- Community Questions and Evidence
- Common Problems and Fixes
- Rewards and Drops
- Media Gallery
- Video Guides
- Sources and Verification
Quick Preparation
- Location
- Utzaal, Act 3 (Legion Blockade)
- Recommended Level
- Level 40+ (Act 3)
- Primary Damage Types
- Chaos · Fire · Poison
- Editorial Difficulty
- High
QUICK ANSWER
Remember These First
The arena shrinks in steps as the fight goes on; the safe space gets smaller, so positioning matters more than raw damage.
After the 0.5.0 changes, a Flask charge is restored during the constriction window — use it, do not panic.
Rolling through the spear barrage gaps is the intended counter; rolling to the outer edge can trap you outside the fight.
Chaos and Fire, plus Poison from totems
Cap Chaos Resist, keep movement speed
Rolling to the arena edge and getting stuck
Respawn at checkpoint; it is a known edge case
FAQ
Top search questions: entry, damage, recovery
Is Viper only a Chaos boss?
No. Her rain attacks split into Fire meteors and Chaos meteors, and her Poison Spear Totem applies Poison. Plan for all three, not just Chaos Resistance.
What is Armed vs Unarmed?
These are attack states, not separate phases. Armed she throws spear barrages and melee combos; Unarmed she leans on rain and bolt casts. Both happen across the same fight.
Why does the arena keep getting smaller?
The Legion pushes inward in steps tied to her barrage cycles. It is intended pressure, not a bug — but rolling out of the line can desync you from the arena.
Do I recover Flasks during the fight?
Yes, the current version restores Flask charges during the constriction window (changed in 0.5.0). Use the breathing room instead of burning Flasks early.
ACCESS & CONTEXT
How to Reach
Legion Blockade
Must be killed to progress
Cap chaos res
Shrinking arena pressure
Progress through Utzaal
Reach the Legion Blockade in Act 3 Utzaal as part of the main quest.
Clear the blockade
Fight through the Legion encounter that gates the boss arena.
Enter the arena
Step into Viper Napuatzi's arena to start the fight.
OVERVIEW
Encounter Overview
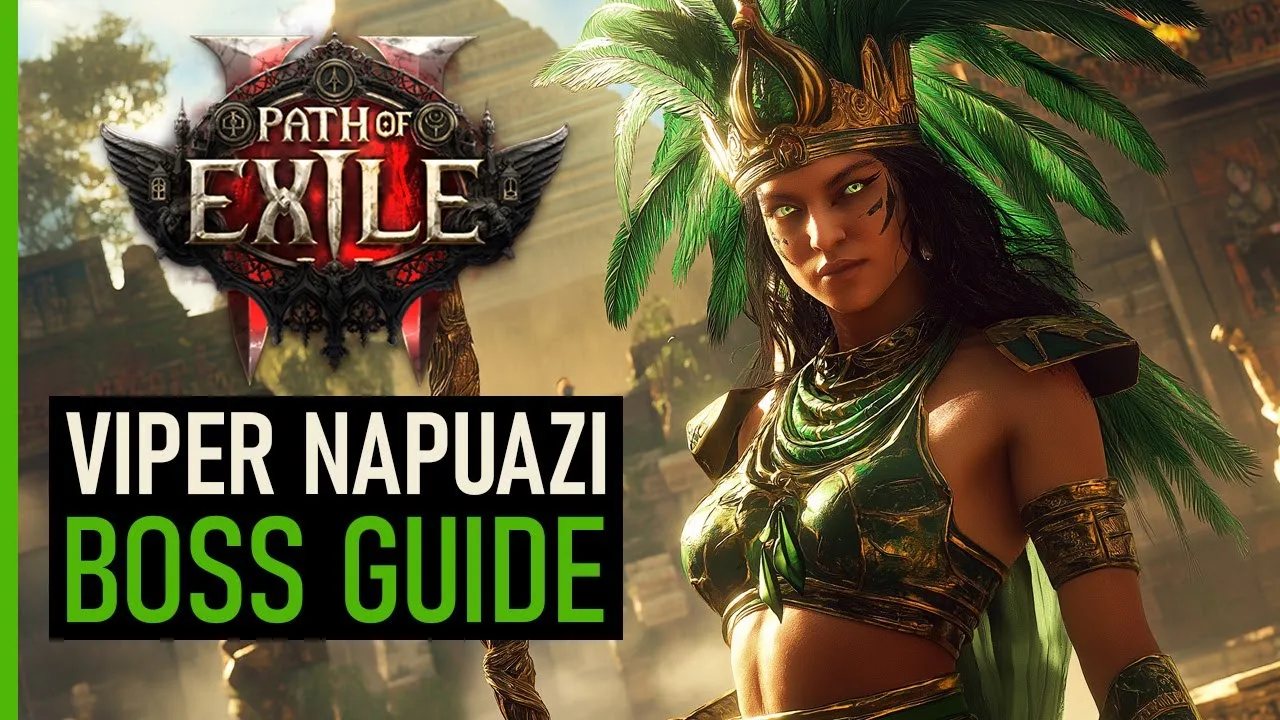
Viper Napuatzi is the Act 3 Legion Blockade boss in Utzaal. She is a pressure fight: she peppers the arena with Fire and Chaos rain, sends rows of spears across the field, and slowly shrinks the playable space with her Legion.
The fight is not about a single one-shot mechanic. It is about surviving the attrition while the arena closes in. Players who treat it like a pure Chaos check fail because the Fire meteors and Poison totems bleed them down between the big hits.
- Not a single-damage-type boss — prepare Chaos, Fire and Poison mitigation.
- The shrinking arena is the defining pressure, not a side effect.
- A Flask recovery window exists in the current version — use it.
ARENA READING
Arena Constriction Timeline
The arena starts at full size, then contracts in steps synced to Viper's spear barrage cycles. Each contraction reduces safe space and forces melee and ranged into the same lane.
After the 0.5.0 changes a Flask charge is restored during the constriction window. This is the intended recovery beat — do not waste Flasks before it, and do not roll toward the closing wall.
- Initial full area → first spear barrage → Legion pushes in.
- Flask recovery window opens during the push.
- Second push → final small arena with overlapping rain.
- Rolling to the outer edge can desync you from the fight (known edge case).
PHASE BREAKDOWN
Combat Phases
Phase 1 · Phase 1 — Full Arena (100%–~50%)
Trigger: Fight start.
Objectives- Dodge barrage gaps
- Clear Poison totems
- Manage space
Viper uses spear barrages, Fire meteors and Poison totems while the arena is still open.
ATTACK REFERENCE
Attack Recognition and Response
| Attack | Telegraph | Response | Common mistakes | Danger |
|---|---|---|---|---|
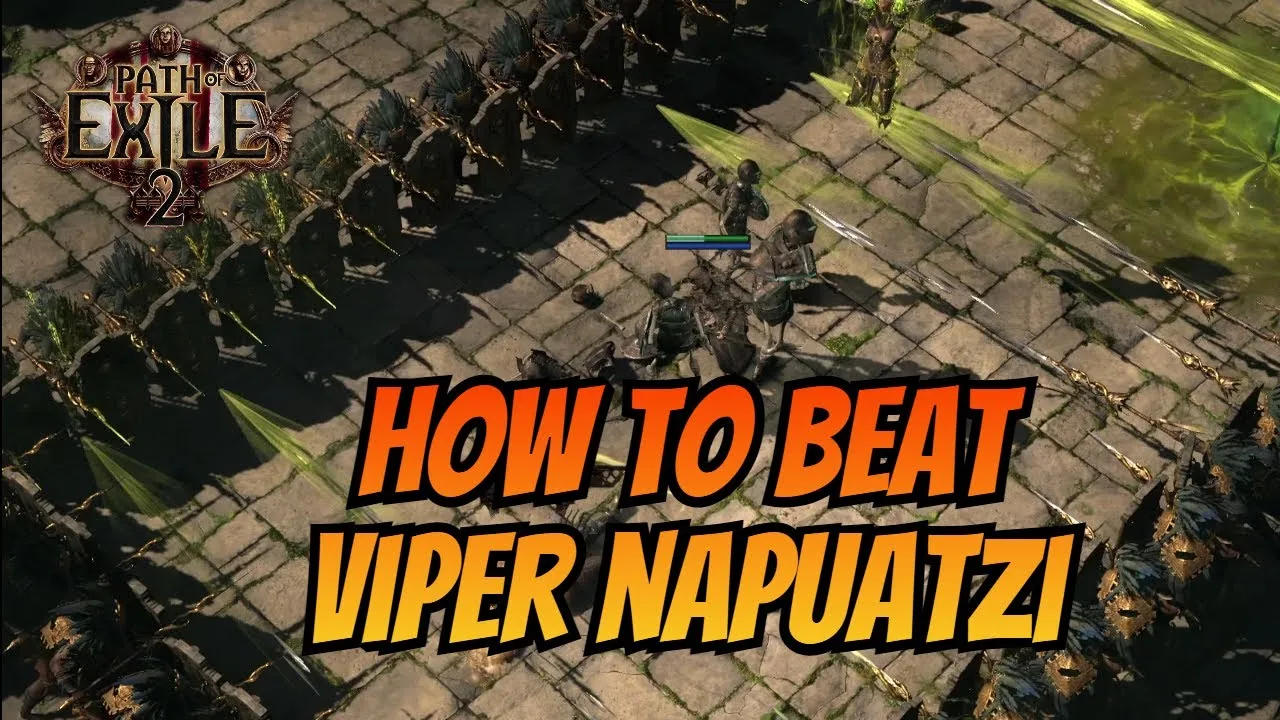
| Spear BarragePhase 1 — Full Arena (100%–~50%) · Phase 2 — Constriction (~50%–0%) | Soldiers line up and launch a wall of spears across the arena. | Roll through the gaps in the spear wall, or time a roll between volleys. | Rolling to the arena edge and getting stuck outside | High |
| Fire MeteorsPhase 1 — Full Arena (100%–~50%) · Phase 2 — Constriction (~50%–0%) | Viper rises and marks several small impact zones. | Walk into a zone that already landed; the ground is safe after impact. | Hugging the wall with no room to move | Med |
| Chaos MeteorsPhase 1 — Full Arena (100%–~50%) · Phase 2 — Constriction (~50%–0%) | Larger purple circling zones appear after the Fire meteors. | Leave the stacked overlap early; do not stand in both rains. | Watching Viper instead of the ground | High |
| Chaos BoltsPhase 1 — Full Arena (100%–~50%) · Phase 2 — Constriction (~50%–0%) | Rapid successive purple bolts aimed at your position. | Stafe sideways or roll; do not backroll repeatedly into a corner. | Continuous backward rolling | Med |
| Poison Spear TotemPhase 1 — Full Arena (100%–~50%) · Phase 2 — Constriction (~50%–0%) | A totem spawns and channels Poison. | Destroy it quickly; Poison stacks punish prolonged fights. | Ignoring the totem | Med |
| Viper SparkPhase 2 — Constriction (~50%–0%) | A quick frontal spark burst. | Step to her side or behind during the wind-up. | Facetanking the spark | Low |
OVERVIEW
Spear Barrage Guide
The Spear Barrage is the signature pressure attack. Soldiers line up and launch a wall of spears; the wall has gaps you roll through. The mistake most players make is rolling outward toward the closing Legion wall, which can leave you outside the fight entirely.
Treat each barrage as a timing puzzle: watch the launch, count the volleys, and roll through a known gap rather than away from the boss.
- Gaps exist — roll through, do not roll away.
- Do not roll to the outer edge during constriction.
- Melee can use the barrage downtime to commit.
OVERVIEW
Flask Recovery Window
Since 0.5.0, a Flask charge is restored during the constriction window. This is the designed recovery beat of the fight: the arena pushes in, Viper briefly eases her offense, and you get a charge back.
Plan your resource use around it. Burning all Flasks in Phase 1 leaves you exposed when the Chaos meteors grow in Phase 2.
- Restored Flask charge = use it during the push.
- Do not pre-spend Flasks before the window.
- Pair the window with a damage burst if safe.
BEFORE THE FIGHT
Pre-Fight Preparation Checklist
| Done | Check | Why it matters | Quick fix |
|---|---|---|---|
| Capped Chaos Resistance Verify chaos res at 75% cap. | Her Chaos meteors and bolts are the deadliest sustained damage. | Chaos rolls, a Chaos charm, or a corrupted item with chaos res. | |
| Fire and Poison mitigation Some Fire res and Poison immunity or cleansing. | Fire meteors and Poison totems chip you between big hits. | Fire res rolls; a way to clear or avoid Poison. | |
| Movement speed Boots with movement speed. | The shrinking arena forces constant repositioning. | Movement-speed suffix or a movement skill. | |
| Flask charges Life/utility Flasks topped. | The fight is long; the recovery window is not enough alone. | Flask quality and charge recovery. |
BUILD-SPECIFIC STRATEGY
Build Considerations
Chaos Resistance is the priority, but the fight also tests mobility. The shrinking arena punishes any build that must stand still to deal damage.
Ranged builds can kite the rain if they respect the closing wall; melee must use barrage downtime to commit and retreat before the Chaos meteors grow.
- Melee: commit during barrage downtime, retreat before meteors grow.
- Ranged: kite inward as the arena shrinks, never to the wall.
- Minion: bodies can body-block spears but die to Chaos rain.
- Avoid low-mobility towers — the constriction will corner you.
COMMUNITY EVIDENCE
Community Questions and Evidence
I rolled to the edge and got stuck outside the fight
Multiple players report rolling outward during constriction and ending up outside the arena with no way to progress.
This is a known edge case, not intended difficulty. The fix is to stay inside the closing wall.
Respawn at checkpoint to reset the instance; do not roll to the outer edge.
Why do I die to Chaos so fast
Forum posts note Chaos meteors overlap Fire rain in Phase 2, doubling pressure.
Our read: cap Chaos res and leave the overlap early; the damage is telegraphed, not a one-shot.
Cap Chaos Resistance and respect both rains; it is telegraphed damage.
PROBLEMS & DIRECT ANSWERS
Common Problems and Fixes
I got stuck outside the arena after rolling
Direct answer: Respawn at checkpoint to reset the instance; stay inside the closing wall next time.
- Did you roll to the outer edge?
- Is the Legion wall closing?
Chaos damage melts me in Phase 2
Direct answer: Cap Chaos res and leave the Fire+Chaos overlap early; the meteors are telegraphed.
- Chaos res capped?
- Are you standing in both rains?
The fight drags and Poison stacks kill me
Direct answer: Destroy the Poison Spear Totem fast; Poison is the long-fight tax.
- Is the totem up?
- Are Poison stacks high?
REWARDS & PROGRESSION
Rewards and Drops
Campaign Progression
Required to advance the Act 3 main quest.
Gear Drops
Chance for weapons, armour and skill gems from the campaign loot pool.
MEDIA GALLERY
Media Gallery
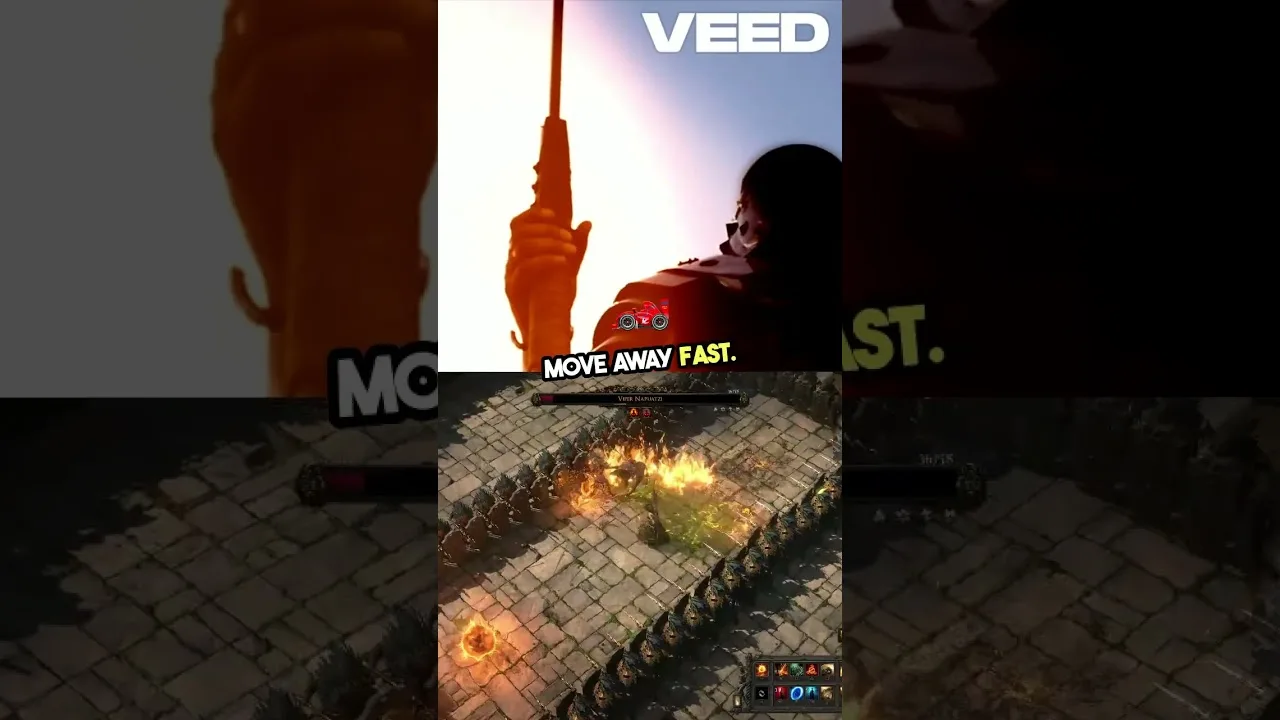
VIDEO & TIMESTAMPS
Video Guides
TSouL22
Verified boss-fight footage
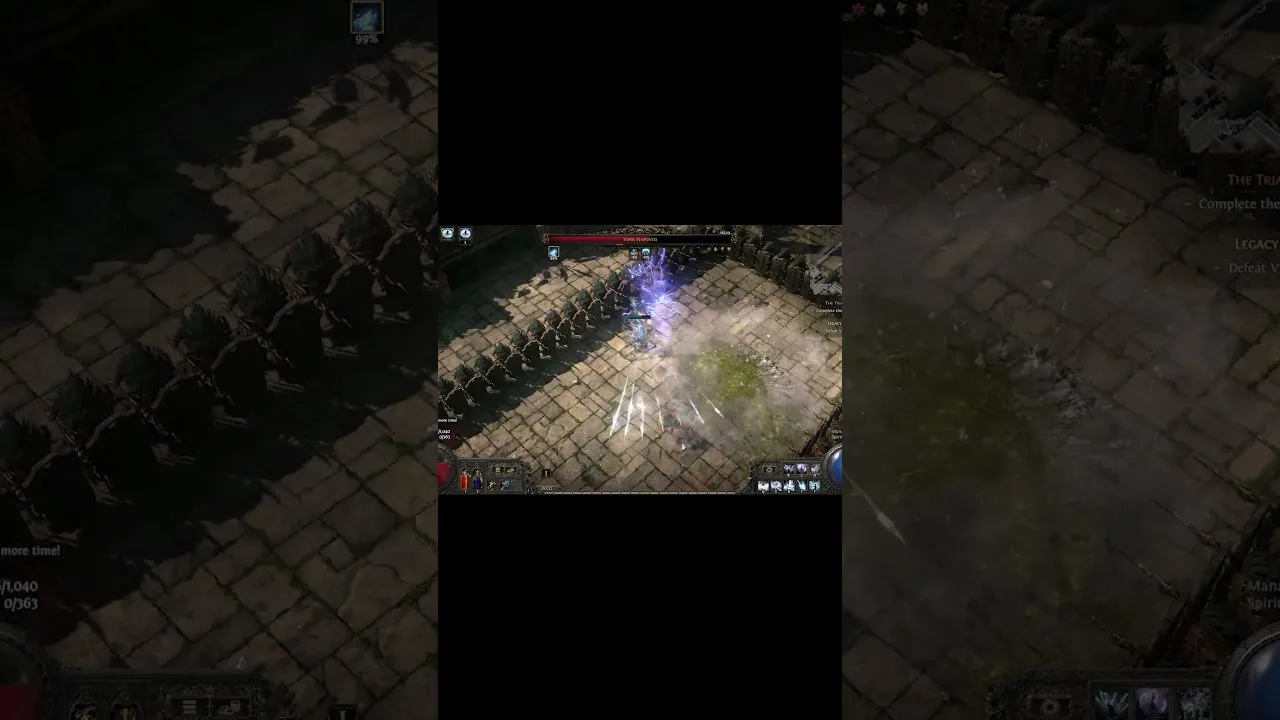
What to watch for: Verified creator recording of the boss fight.
Open source ↗Defensive Games
Verified boss-fight footage
What to watch for: Verified creator recording of the boss fight.
Open source ↗SOURCES & VERIFICATION
Sources and Verification
Official Patch Notes — https://www.pathofexile.com/forum/view-thread/3975218
PoE2 Wiki — https://poe2wiki.net/wiki/Viper_Napatuzi
Mobalytics Guide — https://mobalytics.gg/poe-2/guides
Reddit Community — https://www.reddit.com/r/pathofexile2/
Article Changelog
- Generated from the 0.5.4 client and multiple guide sources, including phases, attack table, community evidence and reward flow.
- Videos embed verified creator boss-fight recordings (watch?v= format); art uses real frames from the matching boss.
- Internally verified and auto-approved for publication.
Related content
Information is compiled from public web sources and in-game observations; some visuals are original editorial diagrams. External information and images remain the property of their authors or platforms; contact us for removal requests.