
On this page
- Remember These First
- Top search questions: test, safe spot, reward
- How to Reach
- Phase Overview
- Apparition Mechanic
- Line-of-Sight Guide
- Arena and Hazards
- Combat Phases
- Attack Recognition and Response
- Reward Claim Flow (Trial Chain)
- Pre-Fight Preparation Checklist
- Build Considerations
- Community Questions and Evidence
- Common Problems and Fixes
- Rewards and Drops
- Media Gallery
- Video Guides
- Sources and Verification
Quick Preparation
- Location
- Halls of the Dead, Act 4
- Recommended Level
- Level 50+ (Act 4)
- Primary Damage Types
- Physical · Chaos
- Editorial Difficulty
- High
QUICK ANSWER
Remember These First
During the apparition phase, find the final safe position; pillars give verified line-of-sight cover.
The Silver Coin drops from Yama and starts the Trial of the Ancestors chain.
The +2 Weapon Set Passive Points are earned after the Trial, via the Tattoo of Hinekora — not from the kill alone.
No, Trial chain grants them
Final position / pillar LoS
Silver Coin
Use pillar line-of-sight
FAQ
Top search questions: test, safe spot, reward
Which quest step is Yama in?
He appears in the Halls of the Dead during the Act 4 route; defeat him to unlock Yama's Test.
How do I unlock Yama's Test?
Defeat Yama in the Halls of the Dead; the encounter opens Yama's Test.
What is the safe position?
The final safe position that appears during the apparition phase; pillars provide verified line-of-sight cover.
Does hiding behind a pillar always work?
On the current patch it is a stable tactic when the safe spot is the pillar LoS; verify per patch, do not assume it blindly.
Is the big explosion a one-shot?
No. Do not use unsourced absolute claims; the explosion is telegraphed and dodgeable on the current patch.
ACCESS & CONTEXT
How to Reach
Optional boss
Gates Trial reward
Cap chaos res
Not from kill alone
Reach Halls of the Dead
Progress Act 4 to the Halls of the Dead.
Trigger Yama
Start the Yama encounter.
Open Yama's Test
Defeat him to unlock the Test.
OVERVIEW
Phase Overview
Yama fights in two beats: a standard pressure phase, then an apparition phase where he vanishes and a sequence of apparitions resolves to a final safe position before a full-arena burst.
The kill is only step one of a longer reward chain — do not expect the passive points at the moment of death.
- Beat 1: standard pressure.
- Beat 2: apparition -> safe spot -> burst.
- Kill is step one of the chain.
OVERVIEW
Apparition Mechanic
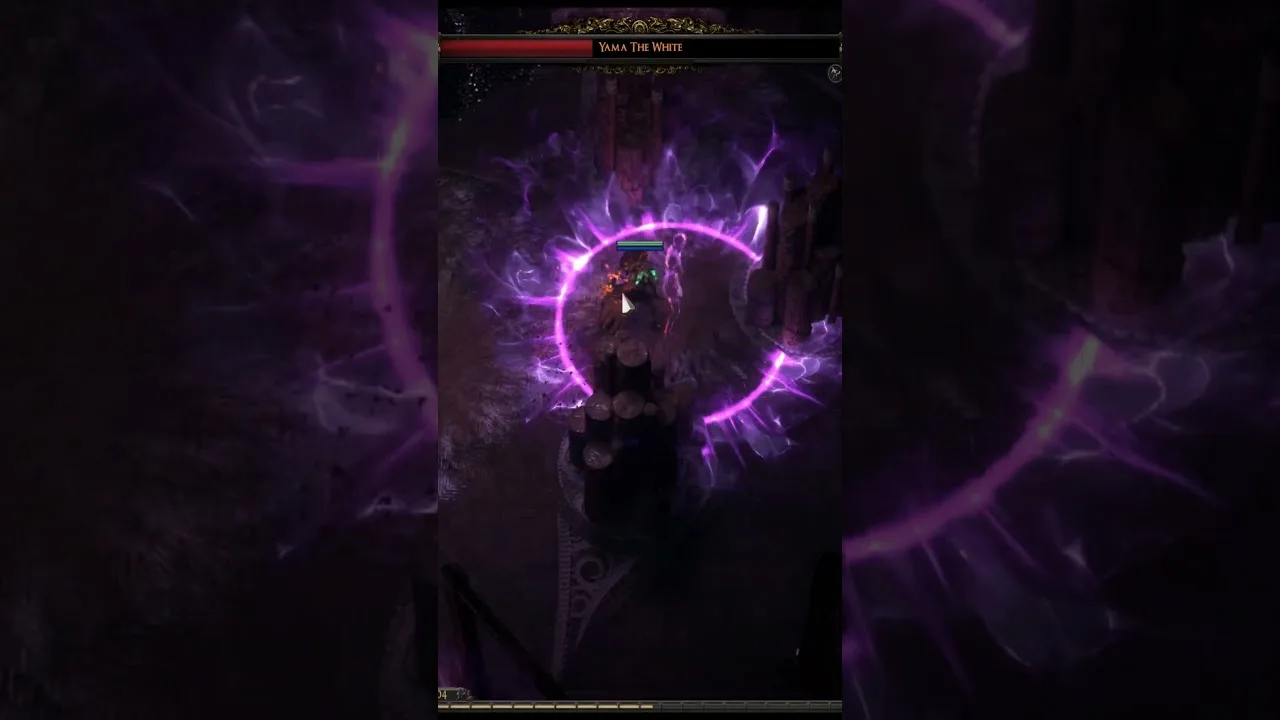
During the apparition phase Yama disappears and several apparitions respond in sequence. A final safe position appears; move to it (or use verified line-of-sight) before the full-arena burst, then he returns.
The sequence is readable: each apparition points toward the next safe area. Do not stand still — follow the safe position.
- Yama vanishes, apparitions resolve.
- Final safe position appears.
- Move there before the burst.
OVERVIEW
Line-of-Sight Guide
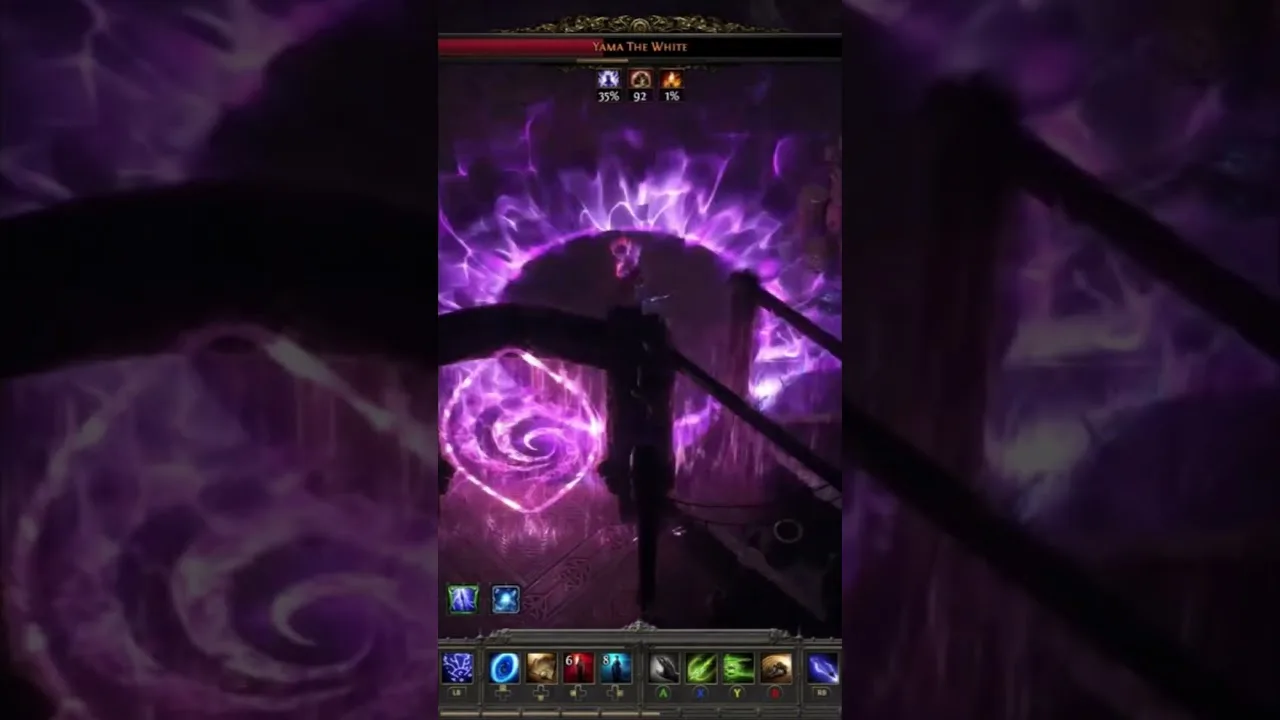
Pillars in the Halls of the Dead provide line-of-sight cover during the apparition burst. Using a pillar is a stable tactic on the current patch when the safe spot is the pillar LoS.
Do not assume pillar-hiding works blindly across patches — verify on the current client. The explosion is telegraphed and dodgeable regardless.
- Pillars give verified LoS cover.
- Stable on current patch for pillar safe spot.
- Verify per patch; explosion is telegraphed.
ARENA READING
Arena and Hazards
The Halls of the Dead arena has pillars you use for line-of-sight and a center that becomes dangerous during the apparition burst. The indicated safe circle can be hard to read — trust the pillar LoS if the circle is unclear.
Keep mobile; the full-arena burst punishes standing in the open.
- Pillars = LoS cover.
- Center dangerous during burst.
- Trust pillar LoS if circle unclear.
PHASE BREAKDOWN
Combat Phases
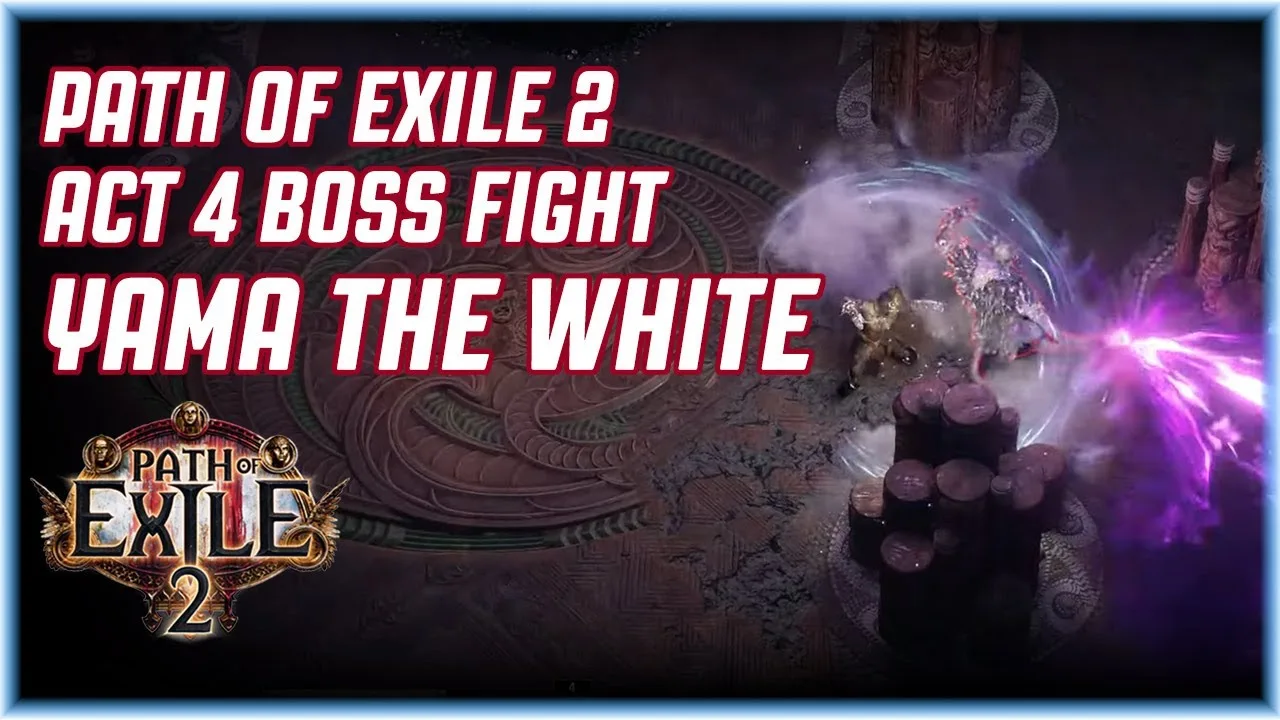
Phase 1 · Phase 1 — Pressure (100%–~50%)
Trigger: Fight start.
Objectives- Dodge combos
- Punish windows
Standard melee and projectile pressure.
ATTACK REFERENCE
Attack Recognition and Response
| Attack | Telegraph | Response | Common mistakes | Danger |
|---|---|---|---|---|
| Melee ComboPhase 1 — Pressure (100%–~50%) · Phase 2 — Apparition (~50%–0%) | A sword combo string. | Dodge between swings; punish the end. | Trading during combo | Med |
| ProjectilePhase 1 — Pressure (100%–~50%) | A projectile toward you. | Side-step the shot. | Standing in the line | Low |
| Apparition BurstPhase 2 — Apparition (~50%–0%) | Apparitions resolve to a safe spot, then a full-arena burst. | Move to the safe position or pillar LoS before it fires. | Standing in the open | High |
| Full-Arena ExplosionPhase 2 — Apparition (~50%–0%) | A telegraphed explosion fills the arena. | Use pillar LoS or the safe spot; it is telegraphed, not a one-shot. | Assuming unavoidable one-shot | High |
OVERVIEW
Reward Claim Flow (Trial Chain)
Beating Yama drops the Silver Coin. The Silver Coin starts the Trial of the Ancestors; after completing the trial (via Navali / Hinekora flow) you receive the Tattoo of Hinekora, which grants +2 Weapon Set Passive Skill Points when used.
The passive points are NOT from the kill alone. Each step is separate: Yama -> Silver Coin -> Trial -> Tattoo -> +2 Points.
- Beat Yama -> Silver Coin drops.
- Silver Coin -> Trial of the Ancestors.
- Trial -> Tattoo of Hinekora.
- Use Tattoo -> +2 Weapon Set Passive Points.
BEFORE THE FIGHT
Pre-Fight Preparation Checklist
| Done | Check | Why it matters | Quick fix |
|---|---|---|---|
| Capped Chaos Resistance Verify chaos res at 75% cap. | Apparition burst and explosion are Chaos. | Chaos rolls, charm, corrupted gear. | |
| Physical mitigation Armour/evasion for melee. | Phase 1 is Physical. | Armour/evasion, endurance charges. | |
| LoS plan Know the pillar safe spot. | Apparition burst needs cover. | Use Halls pillars. | |
| Know the chain Expect Trial after the kill. | Points come from the Tattoo, not the kill. | Follow Silver Coin -> Trial. |
BUILD-SPECIFIC STRATEGY
Build Considerations
Yama is a mechanic fight more than a DPS race. Respect the apparition burst with line-of-sight and the kill becomes manageable for any build.
Melee can punish Phase 1 windows; ranged should hold mid range and use pillars for the burst. HC players should learn the safe spot before committing.
- Melee: punish Phase 1 windows.
- Ranged: mid range, pillar LoS for burst.
- HC: learn the safe spot first.
- Explosion is telegraphed, dodgeable.
COMMUNITY EVIDENCE
Community Questions and Evidence
I killed him but got no points
Players expect +2 points at the kill.
Points come from the Tattoo after the Trial, not the kill. The chain is separate steps.
Beat Yama -> Silver Coin -> Trial -> Tattoo of Hinekora -> +2 Points.
Does pillar-hiding work
Forum debate on pillar line-of-sight.
Stable on the current patch for the pillar safe spot; verify per patch, do not assume blindly.
Pillar LoS is a verified safe tactic on the current patch; confirm per client.
PROBLEMS & DIRECT ANSWERS
Common Problems and Fixes
No passive points after kill
Direct answer: Points come from the Tattoo after the Trial; follow Silver Coin -> Trial -> Tattoo.
- Did you get the Silver Coin?
- Did you do the Trial?
Apparition burst kills me
Direct answer: Move to the safe position or pillar LoS before the burst fires.
- Are you at the safe spot?
- Are you using a pillar?
Explosion feels unavoidable
Direct answer: It is telegraphed and dodgeable on the current patch; use pillar LoS, do not assume a one-shot.
- Are you reading the telegraph?
- Are you in the open?
REWARDS & PROGRESSION
Rewards and Drops
Silver Coin
Drops from Yama; starts the Trial of the Ancestors chain.
+2 Weapon Set Passive Points
After the Trial, the Tattoo grants +2 Weapon Set Passive Skill Points when used.
MEDIA GALLERY
Media Gallery

VIDEO & TIMESTAMPS
Video Guides
Chef Nunu
Verified boss-fight footage
What to watch for: Verified creator recording of the boss fight.
Open source ↗FanHOTS
Verified boss-fight footage
What to watch for: Verified creator recording of the boss fight.
Open source ↗SOURCES & VERIFICATION
Sources and Verification
Official Patch Notes — https://www.pathofexile.com/forum/view-thread/3975218
PoE2 Wiki — https://poe2wiki.net/wiki/Yama
Maxroll Guide — https://maxroll.gg/poe2
Reddit Community — https://www.reddit.com/r/pathofexile2/
Article Changelog
- Generated from the 0.5.4 client and multiple guide sources, including phases, attack table, community evidence and reward flow.
- Videos embed verified creator boss-fight recordings (watch?v= format); art uses real frames from the matching boss.
- Internally verified and auto-approved for publication.
Related content
Information is compiled from public web sources and in-game observations; some visuals are original editorial diagrams. External information and images remain the property of their authors or platforms; contact us for removal requests.