
On this page
- Direct answers
- Mirror and fog basics
- Fog direction and depth
- Continue or exit?
- Grand Mirror route
- Delirious Effect tracker
- Simulacrum access
- Wave progression
- Distilled Emotions
- Reaching Tangmazu
- Version differences (0.5 vs older)
- What players report
- Video walkthrough
- Common problems
- Sources and verification
- Changelog
QUICK ANSWER
Direct answers
What starts a Delirium?
A Delirium Mirror appears in a map. Walking into it spreads fog across the area; monsters inside the fog are buffed and drop better loot.
The deeper you push into the fog, the higher the rewards and the tougher the monsters.
What is the Grand Mirror?
The Grand Mirror is the larger Delirium encounter. It spreads fog more widely and is the step that builds the Delirious Effect on your map.
How do I reach the Simulacrum?
Completing Delirium content generates the Simulacrum. The current 0.5 Simulacrum runs its own wave layout and ends in a boss; it is not the old 15-wave format.
What are Distilled Emotions for?
Distilled Emotions are Delirium currency with two uses: upgrading a map to Delirious, and anointing an amulet with a passive-tree notable.
OVERVIEW
Mirror and fog basics
A Delirium Mirror is the entry point. Touching it wakes the fog, which then creeps outward from the mirror.
Monsters caught in the fog are empowered and yield richer rewards, so the encounter is a risk-reward push rather than a clean clear.
The fog has a fixed origin at the mirror; everything you kill inside it counts toward the Delirium reward, not just the mirror itself.
- Mirror starts the fog
- Fog buffs monsters and rewards
- Kill inside the fog for rewards
OVERVIEW
Fog direction and depth
Fog spreads outward from the mirror. Plan your path so you chase the fog edge instead of backtracking through cleared ground.
Depth matters: the further the fog has spread and the longer you stay in it, the stronger monsters get and the better the drops.
If the fog is about to overtake a chokepoint you cannot clear, that is your signal to exit rather than die inside it.
- Fog grows from the mirror
- Deeper fog = stronger, richer
- Chase the edge, avoid backtrack
RISK / REWARD
Continue or exit?
Decide on monster pressure, not greed.
| 选择 | 危险等级 | 风险 | 收益 | 何时选 |
|---|---|---|---|---|
| Exit now | green | Keep what the fog already granted | Safe value | Your screen is overwhelmed or damage is spiking |
| Push one more edge | yellow | Next fog band is tougher | Extra reward tier | You are clearing comfortably and rewards are climbing |
| Chase the Grand Mirror | red | Wide fog, heavy buffs | Delirious Effect and Simulacrum progress | Only with a geared, buffed-monster-proof character |
OVERVIEW
Grand Mirror route
The Grand Mirror is the wider Delirium encounter on the Atlas. Entering it spreads fog across a much larger area than a normal mirror.
Clearing Grand Mirror content stacks the Delirious Effect on the map, which is what eventually generates the Simulacrum.
Treat the Grand Mirror as a commitment: it assumes you can handle heavily buffed monsters for the whole spread, not just a corner of the map.
- Wider fog than a normal mirror
- Builds Delirious Effect
- Assumes a buffed-monster-proof build
REFERENCE TABLE
Delirious Effect tracker
How Delirious Effect scales as fog deepens. Relative, not exact numbers.
| State | Enemy change | Reward change | Build risk |
|---|---|---|---|
| Light fog | Small buff | Slight boost | Low |
| Mid fog | Clear buff | Real boost | Medium |
| Deep fog | Heavy buff | Big boost | High |
| Grand Mirror | Max buff | Simulacrum progress | Very high |
OVERVIEW
Simulacrum access
The Simulacrum is generated by building Delirious Effect through Delirium content. Once enough effect accrues, the Simulacrum becomes available.
The current 0.5 Simulacrum is its own encounter with a wave layout that ends in a boss; do not follow old 15-wave footage, which no longer matches.
Simulacrum Splinters feed the Simulacrum economy; confirm the current combine and entry method on the live item, since it has changed across versions.
- Built from Delirious Effect
- Current waves end in a boss
- Old 15-wave guides are outdated
REFERENCE TABLE
Wave progression
Conceptual wave shape of the current Simulacrum. Exact count confirmed in-client.
| Phase | What happens | Note |
|---|---|---|
| Early waves | Ramping monster density | Warm-up, bank splinters |
| Mid waves | Buffed packs and modifiers | Damage check |
| Boss wave | Simulacrum boss | Ends the run |
OVERVIEW
Distilled Emotions
Distilled Emotions drop from Delirium content. They have two distinct uses, so decide before spending.
Use one to upgrade a map into a Delirious map for more Delirium reward, or use them to anoint an amulet with a passive-tree notable.
Do not mix the two uses casually: anointing consumes them permanently on the amulet, while map upgrades are a repeatable sink.
- Upgrade maps to Delirious
- Anoint amulets with notables
- Two separate uses, plan first
OVERVIEW
Reaching Tangmazu
Tangmazu is the boss reached after completing the Simulacrum. The Simulacrum is the gate that opens the Tangmazu path.
Tangmazu assumes a character that already cleared the Simulacrum boss, so do not attempt it under-geared.
This guide covers the path and preparation; the boss page covers Tangmazu's attacks in detail once reachable.
VERSION CONFLICTS
Version differences (0.5 vs older)
What changed in the 0.5 Delirium rework versus older guides.
- Follow the current 0.5 Simulacrum wave layout ending in a bossoutdated自 0.5.0
Old Simulacrum ran 15 fixed waves
- Use the current Grand Mirror and fog routeoutdated自 0.5.0
Old Realmgate gating is no longer used
- Keep using them for Delirious maps and anointingvalid自 0.5.0
Distilled Emotions still anoint amulets and upgrade maps
- Ignore wave-count videos older than 0.5conflict自 0.5.0
Some pre-0.5 videos still show 15-wave footage
CARD GRID
What players report
Community experiences; treat as strategy, not guaranteed math.
Chase the fog edge
Players consistently report that pathing along the fog edge yields far more rewards than clearing dead ground.
Exit before overwhelm
Most deaths happen one band past a safe exit; leaving early keeps the haul.
Old videos mislead
The 15-wave footage still floating around does not match the current Simulacrum.
SCREENSHOTS & VIDEO
Video walkthrough
itsDondy
Delirium guide: fog, Grand Mirror and Simulacrum
Walkthrough of Delirium from the Mirror and fog through the Grand Mirror, Simulacrum and Distilled Emotions.
Open source ↗COMMON MISTAKES
Common problems
If the fog ends your run with almost nothing, you likely stayed in cleared ground; chase the fog edge next time.
If the Simulacrum never appears, you have not built enough Delirious Effect; push deeper fog and the Grand Mirror.
If a guide shows 15 waves, it is pre-0.5 and does not match the current Simulacrum; follow the current layout.
- No loot = cleared dead ground
- No Simulacrum = low Delirious Effect
- 15 waves = outdated guide
SOURCES & CHANGELOG
Sources and verification
CHANGELOG
Changelog
- Initial published guide for the 0.5 Delirium system from the Mirror and fog through the Grand Mirror, Simulacrum and Tangmazu on 0.5.4.
Related content
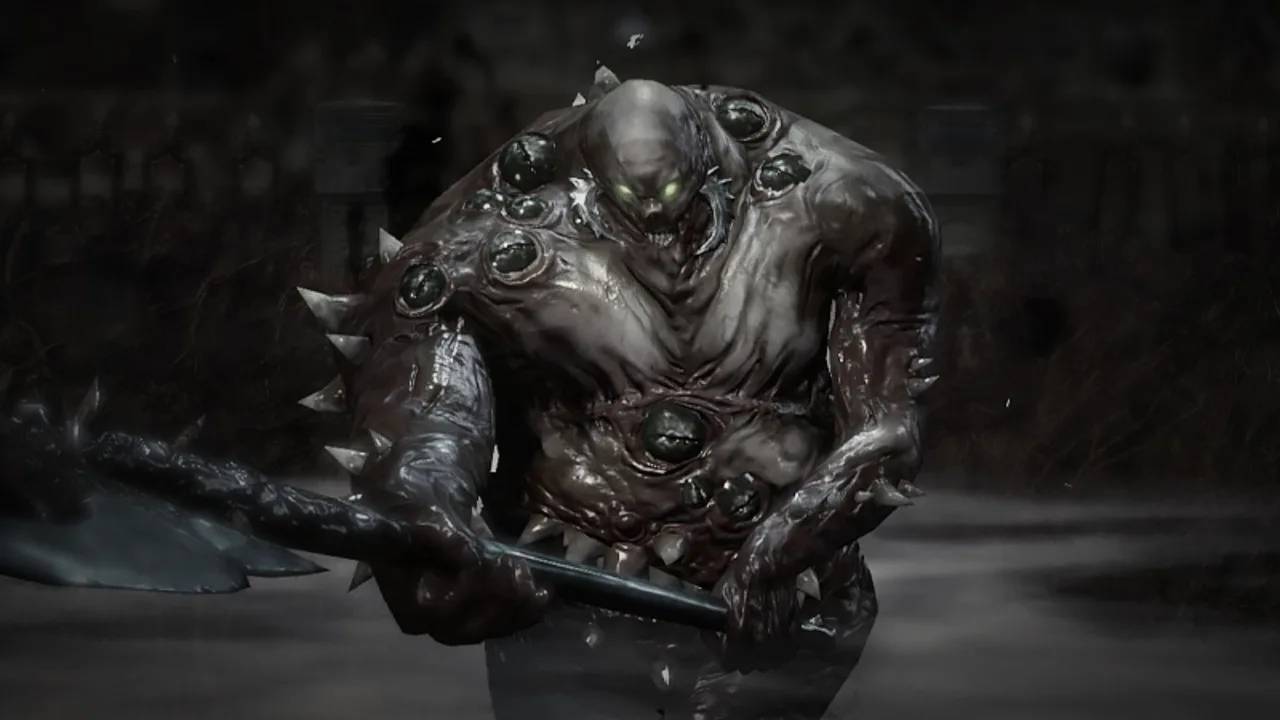 BossesOmniphobia, Fear Manifest Boss Guide: Simulacrum Charge, Slam, Double-Boss Pull and RewardsPath of Exile 2 Delirium / Simulacrum boss guide: Omniphobia spawn conditions, Charge/Leap/Ground Slam telegraphs, why rolling behind still gets hit, pulling away from Kosis, and Delirium progress.chaosendgamephysical
 ItemsLiquid Emotions: Amulet Instilling, Combinations and Current RestrictionsDistilled Emotions anoint a Notable passive onto your Amulet without spending skill points; Waystones can no longer be instilled with Liquid Emotions. This guide covers the current anointing flow, combination lookup, re-anointing, and the historical Waystone restriction.currency
 ItemsSimulacrum: Splinters, the Item, and the 7-Wave Delirium Encounter in 0.5In Path of Exile 2 0.5, 300 Simulacrum Splinters auto-combine into an itemised Simulacrum (a currency item, not a Waystone). You then apply it to an Atlas map node at 100% or higher Deliriousness, inside your Delirium fog, turning that node into a Simulacrum of Delusion - a 7-wave encounter. This guide covers the current 0.5 flow, eligibility, between-wave shards, rewards, and the retired 15-wave / Realmgate version.endgame-accessdeliriumsimulacrum
Information is compiled from public web sources and in-game observations; some visuals are original editorial diagrams. External information and images remain the property of their authors or platforms; contact us for removal requests.