
On this page
QUICK ANSWER
Direct answers
What is the Trial of Chaos loop?
The Trial of Chaos runs in a repeating loop of rooms. Each cycle presents three Tribulations (modifiers); you pick one, clear the room, and the choice stacks with previous ones.
The loop continues until you choose to stop, cash out rewards, or fail.
Quest Ultimatum vs Inscribed Ultimatum?
The first Quest Ultimatum is the story gate. After that you use Inscribed Ultimatums (and higher-tier versions) to enter repeatable trials for Fate and rewards.
Why did I finish but get no Ascendancy points?
The Trial of Chaos grants points only through its boss rooms and the Trialmaster route. Simply surviving rooms banks rewards and Fate, not points; points come from the boss checkpoints and the Trialmaster.
What are the three Fates for?
Fate currencies are spent to open the door to the Trialmaster, the hidden boss that drops unique rewards and completes the Chaos Ascendancy ladder.
OVERVIEW
Access and token types
Entry uses an Ultimatum item. The Quest Ultimatum is consumed once during the campaign; afterwards Inscribed Ultimatums and their upgraded tiers are the repeatable keys.
Higher-tier Ultimatums start at a deeper floor and present tougher modifier stacks, but also bank more reward value per run.
Keep a stock of appropriate-tier Ultimatums: low tiers for safe Fate farming, high tiers when your board can survive the stack.
- Quest Ultimatum = story gate, one-time
- Inscribed Ultimatum = repeatable entry
- Upgraded tiers = deeper start, bigger rewards
PROGRESSION STEPS
How the loop works
Enter with an Ultimatum
Choose the tier that matches your current defensive board.
Pick one of three Tribulations
Each room offers three modifiers; your pick is added to the running stack for the rest of the run.
Clear the room objective
Survival, Defeat All, Escort, Soul Core or a boss antechamber, depending on the room.
Decide: continue, cash out, or abort
Banked rewards and Fate are kept only if you cash out or survive to a checkpoint; failing loses the run's unbanked progress.
REFERENCE TABLE
Room objectives
Room types you meet in the loop and what they actually ask.
| Room | Objective | Must clear | Risk |
|---|---|---|---|
| Survival | Outlast the timer | No | Medium |
| Defeat All | Kill everything | Yes | High |
| Escort | Reach exit with NPC | Partial | Medium |
| Soul Core | Capture the core | No | Medium |
| Boss antechamber | Survive mini-boss | Yes | High |
REFERENCE TABLE
Modifier risk by build
How common modifiers interact with build types. Tiers are relative, not exact numbers.
| Modifier | Effect | Melee | Ranged | Minion | DoT |
|---|---|---|---|---|---|
| Monster Damage | Enemies hit harder | High | High | Medium | Medium |
| Extra Projectiles | More ranged pressure | Medium | High | Low | Low |
| No Leech | Removes life leech | High | Low | Low | Medium |
| Monster Speed | Faster enemies | Medium | Medium | Low | Low |
| Reduced Armour | Less armour | High | Low | Low | Low |
| Chaos Ground | Standing in chaos hurts | High | Medium | Low | High |
REFERENCE TABLE
Build-specific hard stops
Modifiers that can brick a specific build type entirely.
| Build | Hard-stop modifier | Why it bricks |
|---|---|---|
| Life leech melee | No Leech | Removes the only sustain |
| Stationarycaster | Monster Speed + Projectiles | Cannot reposition fast enough |
| Minion | Monster Damage spikes | Minions die, you are exposed |
| Low resist | Any damage modifier | Honour drains too fast |
| Slow mover | Escape-timer rooms | Cannot reach objectives in time |
RISK / REWARD
Continue or stop?
Decide using your current modifier stack, not optimism.
| 选择 | 危险等级 | 风险 | 收益 | 何时选 |
|---|---|---|---|---|
| Cash out now | green | Keep banked rewards and Fate | Safe value, no loss | Stack is already dangerous or Honour is low |
| One more room | yellow | Next modifier may brick the build | Extra reward tier | Board is stable and Honour is healthy |
| Push to a boss checkpoint | yellow | Boss room pressure | Ascendancy progress + big reward | Damage and defence both comfortable |
| Farm Fate to the Trialmaster | red | Long grind through stacked modifiers | Trialmaster unique access | Only with a verified deep-board |
REFERENCE TABLE
Reward ladder
How rewards accumulate across the run.
| Stage | What banks | Lost on fail? |
|---|---|---|
| Each cleared room | Currency, relics, Fate | Yes (unbanked) |
| Checkpoint cash-out | All banked so far | No |
| Boss room | Ascendancy progress + top reward | Yes if room failed |
| Trialmaster | Unique drop | Yes if not reached |
OVERVIEW
Boss-room checkpoints
Boss rooms are the only rooms that advance the Ascendancy ladder inside the Trial of Chaos. Treat them as the real milestone, not the side rooms.
Before a boss room, top up Honour and confirm your damage can clear the boss phase. A stalled boss fight multiplies Honour pressure from the modifier stack.
If the stack is already dangerous, cash out before the boss room rather than gambling the ladder and losing the banked run.
REFERENCE TABLE
Fate tracker
The three Fate currencies and their Trialmaster gate.
| Fate | Current source | Tradeable |
|---|---|---|
| Order's Fate | Mid-loop rooms | No |
| Resolve's Fate | Boss / checkpoint rooms | No |
| Body's Fate | Deep-loop rooms | No |
OVERVIEW
Reaching the Trialmaster
Once you hold the required Fate currencies, the door to the Trialmaster opens. The Trialmaster is the hidden boss of the Trial of Chaos and the source of its unique rewards.
The Trialmaster fight uses its own mechanics; this guide covers the path and preparation, while the boss page covers its attacks in detail.
Only attempt the Trialmaster once your board survives deep modifier stacks, since the encounter assumes a stabilised run.
CARD GRID
What players report
Community experiences; treat as strategy, not guaranteed math.
Avoid stacking two damage modifiers
Players consistently report that two stacked damage modifiers are the most common brick, especially for squishy builds.
Cash out beats greed
Many lost runs were one room past a safe cash-out; banking early is the norm among veteran runners.
Fate is the real goal
The unique rewards behind the Trialmaster are why most farm the loop, not the per-room currency.
SCREENSHOTS & VIDEO
Video walkthrough
Medieval Marty
Trial of Chaos guide - secret boss and best jewels
Walkthrough of the Trial of Chaos loop, modifiers and the Trialmaster.
Open source ↗COMMON MISTAKES
Common problems
If you keep failing at the same modifier stack, stop picking damage modifiers and prioritise defence or escape-friendly rooms.
If you finished rooms but have no points, you likely skipped the boss checkpoint; points only advance at boss rooms and the Trialmaster.
If Fate is not accruing, confirm you are cashing out at checkpoints; unbanked progress is lost on failure.
- Bricked stack = drop damage modifiers
- No points = missed boss checkpoint
- No Fate = not cashing out
SOURCES & CHANGELOG
Sources and verification
CHANGELOG
Changelog
- Initial published guide for the Trial of Chaos loop, modifiers, reward ladder and Trialmaster access on 0.5.4.
Related content
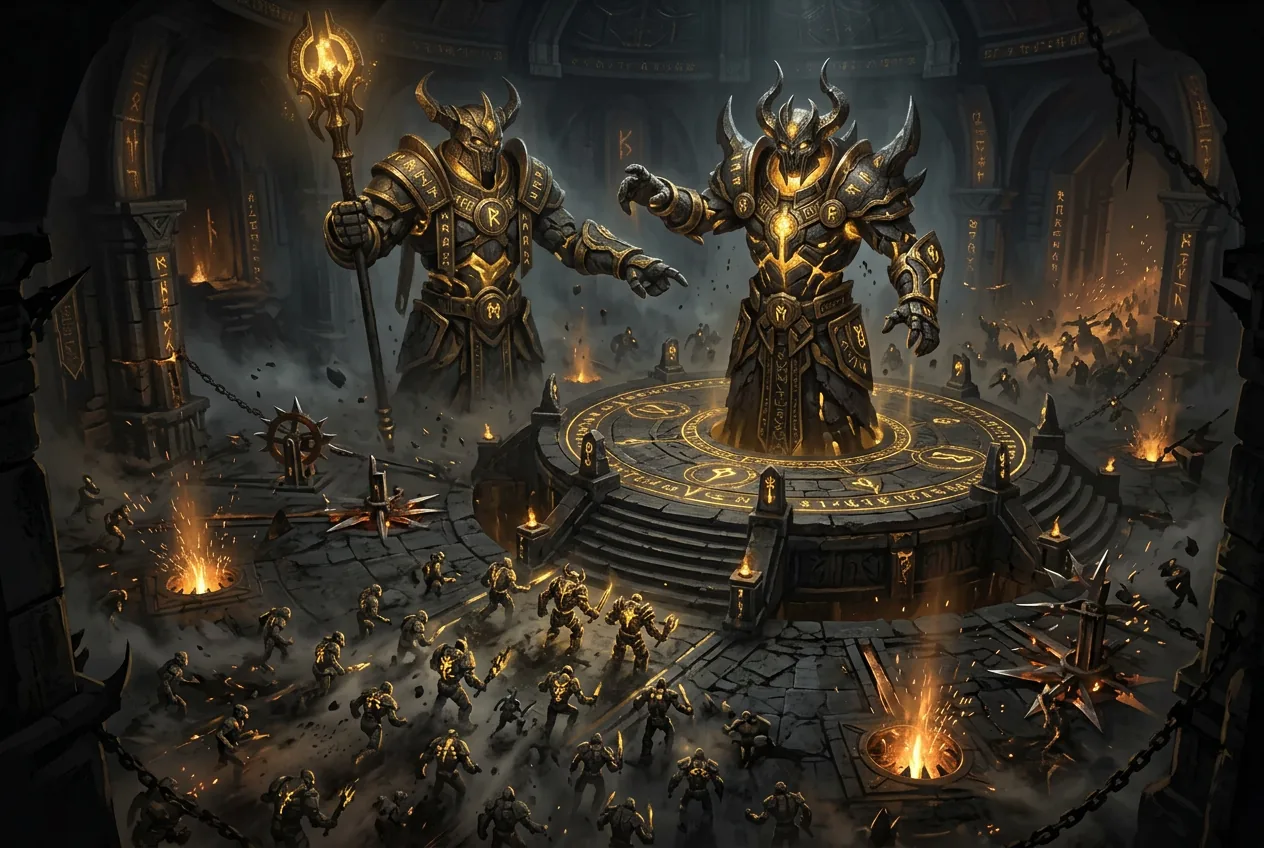 BossesTrialmaster Boss Guide: Escalating Waves, Arena Hazards and RewardsComplete Trial of the Sekhemas final boss guide for the Trialmaster covering escalating wave mechanics, arena hazards, phase transitions and unique reward table.chaosfiremulti-phase
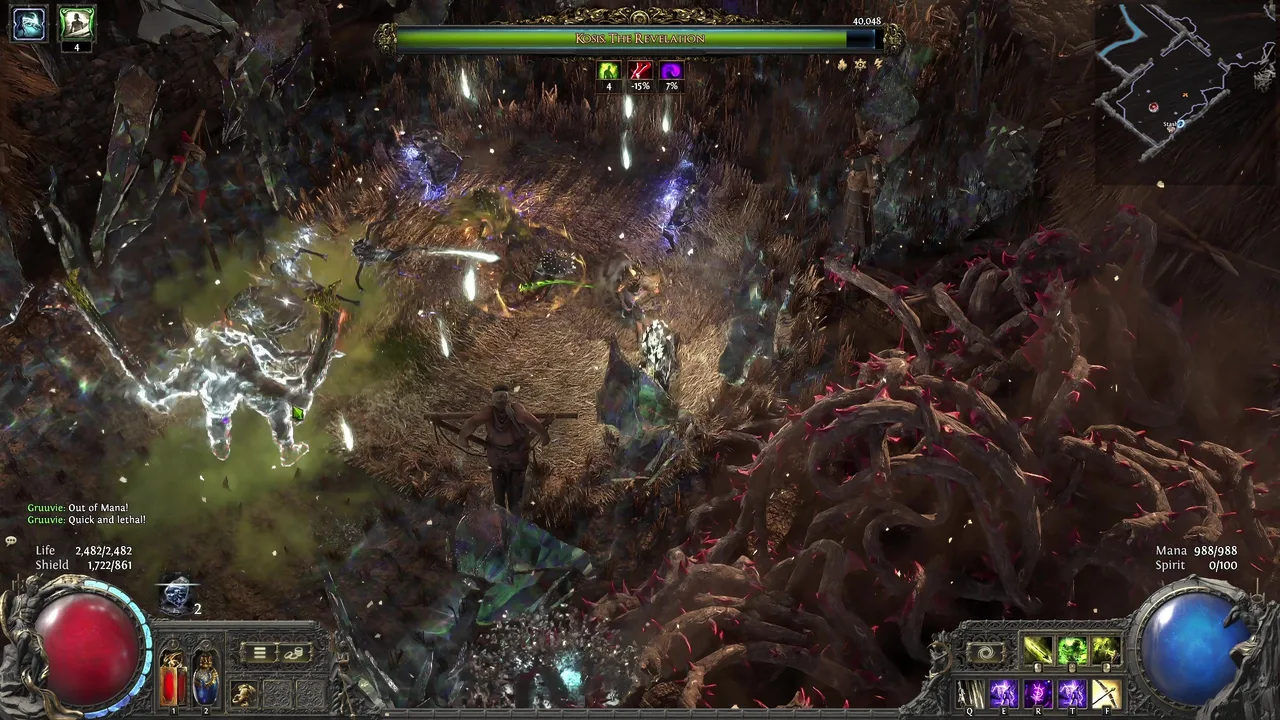 BossesKosis, the Revelation Boss Guide: Simulacrum Waves, Demon Beam, Shield and Boss+Add PriorityPath of Exile 2 Delirium / Simulacrum boss guide: where Kosis appears, wave context, Demon Beam direction, shield/recovery, priority vs Omniphobia, and reward/exit judgement.chaosendgamephysical
 ItemsRunes and Soul Cores ReferenceRunes and Soul Cores are socketables placed into augment sockets on weapons and armour. This guide covers the difference, slot effects, tiers, and how to choose by build goal.socketables
 Patch NotesPath of Exile 2 0.5.4 — Runes of Aldur, Bosses, Items and Build ImpactA player-impact breakdown of 0.5.4: Expedition Atlas, Liquid Verisium, Orb of Sacrifice, level-scaling Unique skills, Pinnacle Boss changes, and the 0.5.4b/0.5.4e follow-ups.atlasbossesbuilds
Information is compiled from public web sources and in-game observations; some visuals are original editorial diagrams. External information and images remain the property of their authors or platforms; contact us for removal requests.